Beyond Ripe: A Risk-Filled Romance with American Persimmons

Hunting for a wild and difficult native food like a persimmon gives us something more than calories.

It was my mom, of course, who introduced me to persimmons. Persimmons are perhaps the most embarrassing fruit to collect from public places. Much worse than black walnuts, which at least have the courtesy to look like nuts, even with their outer husks still on and greenish-brown, though they do stain your hands dark brown if you aren’t careful. No, persimmons are a different matter, because what you are collecting looks like rotten fruit, something that should not be eaten, or at least should have been eaten some weeks earlier.

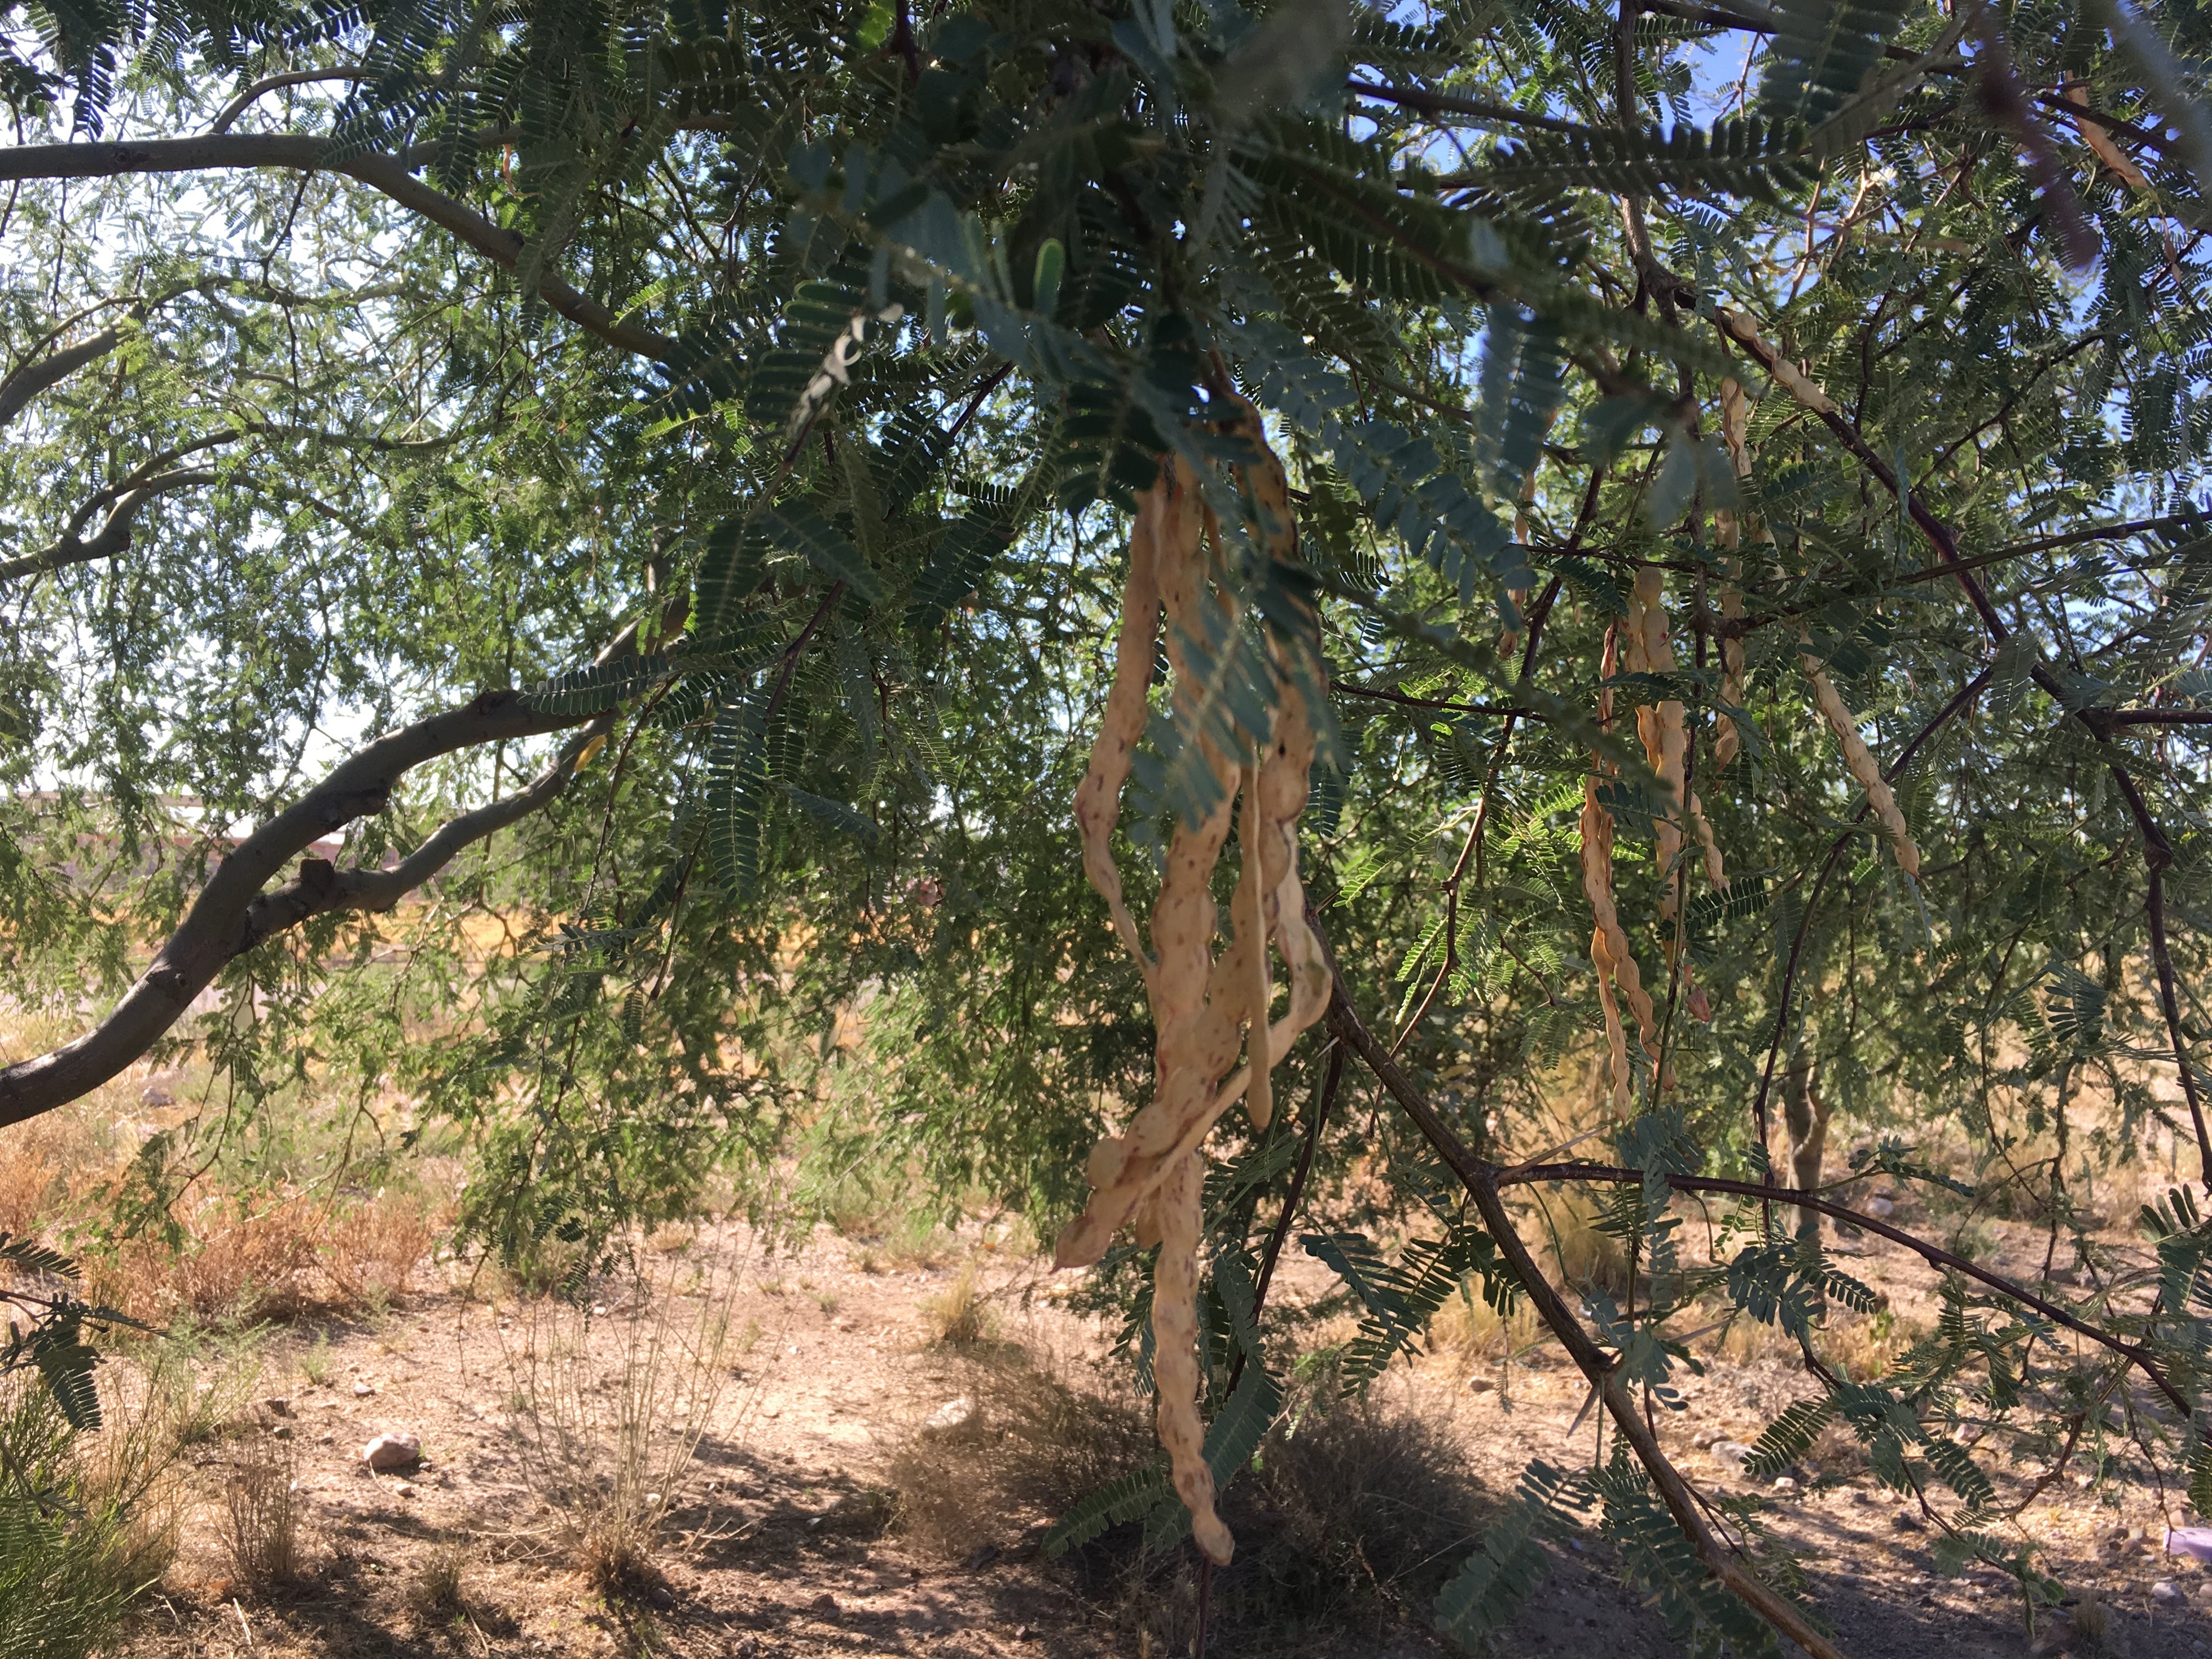
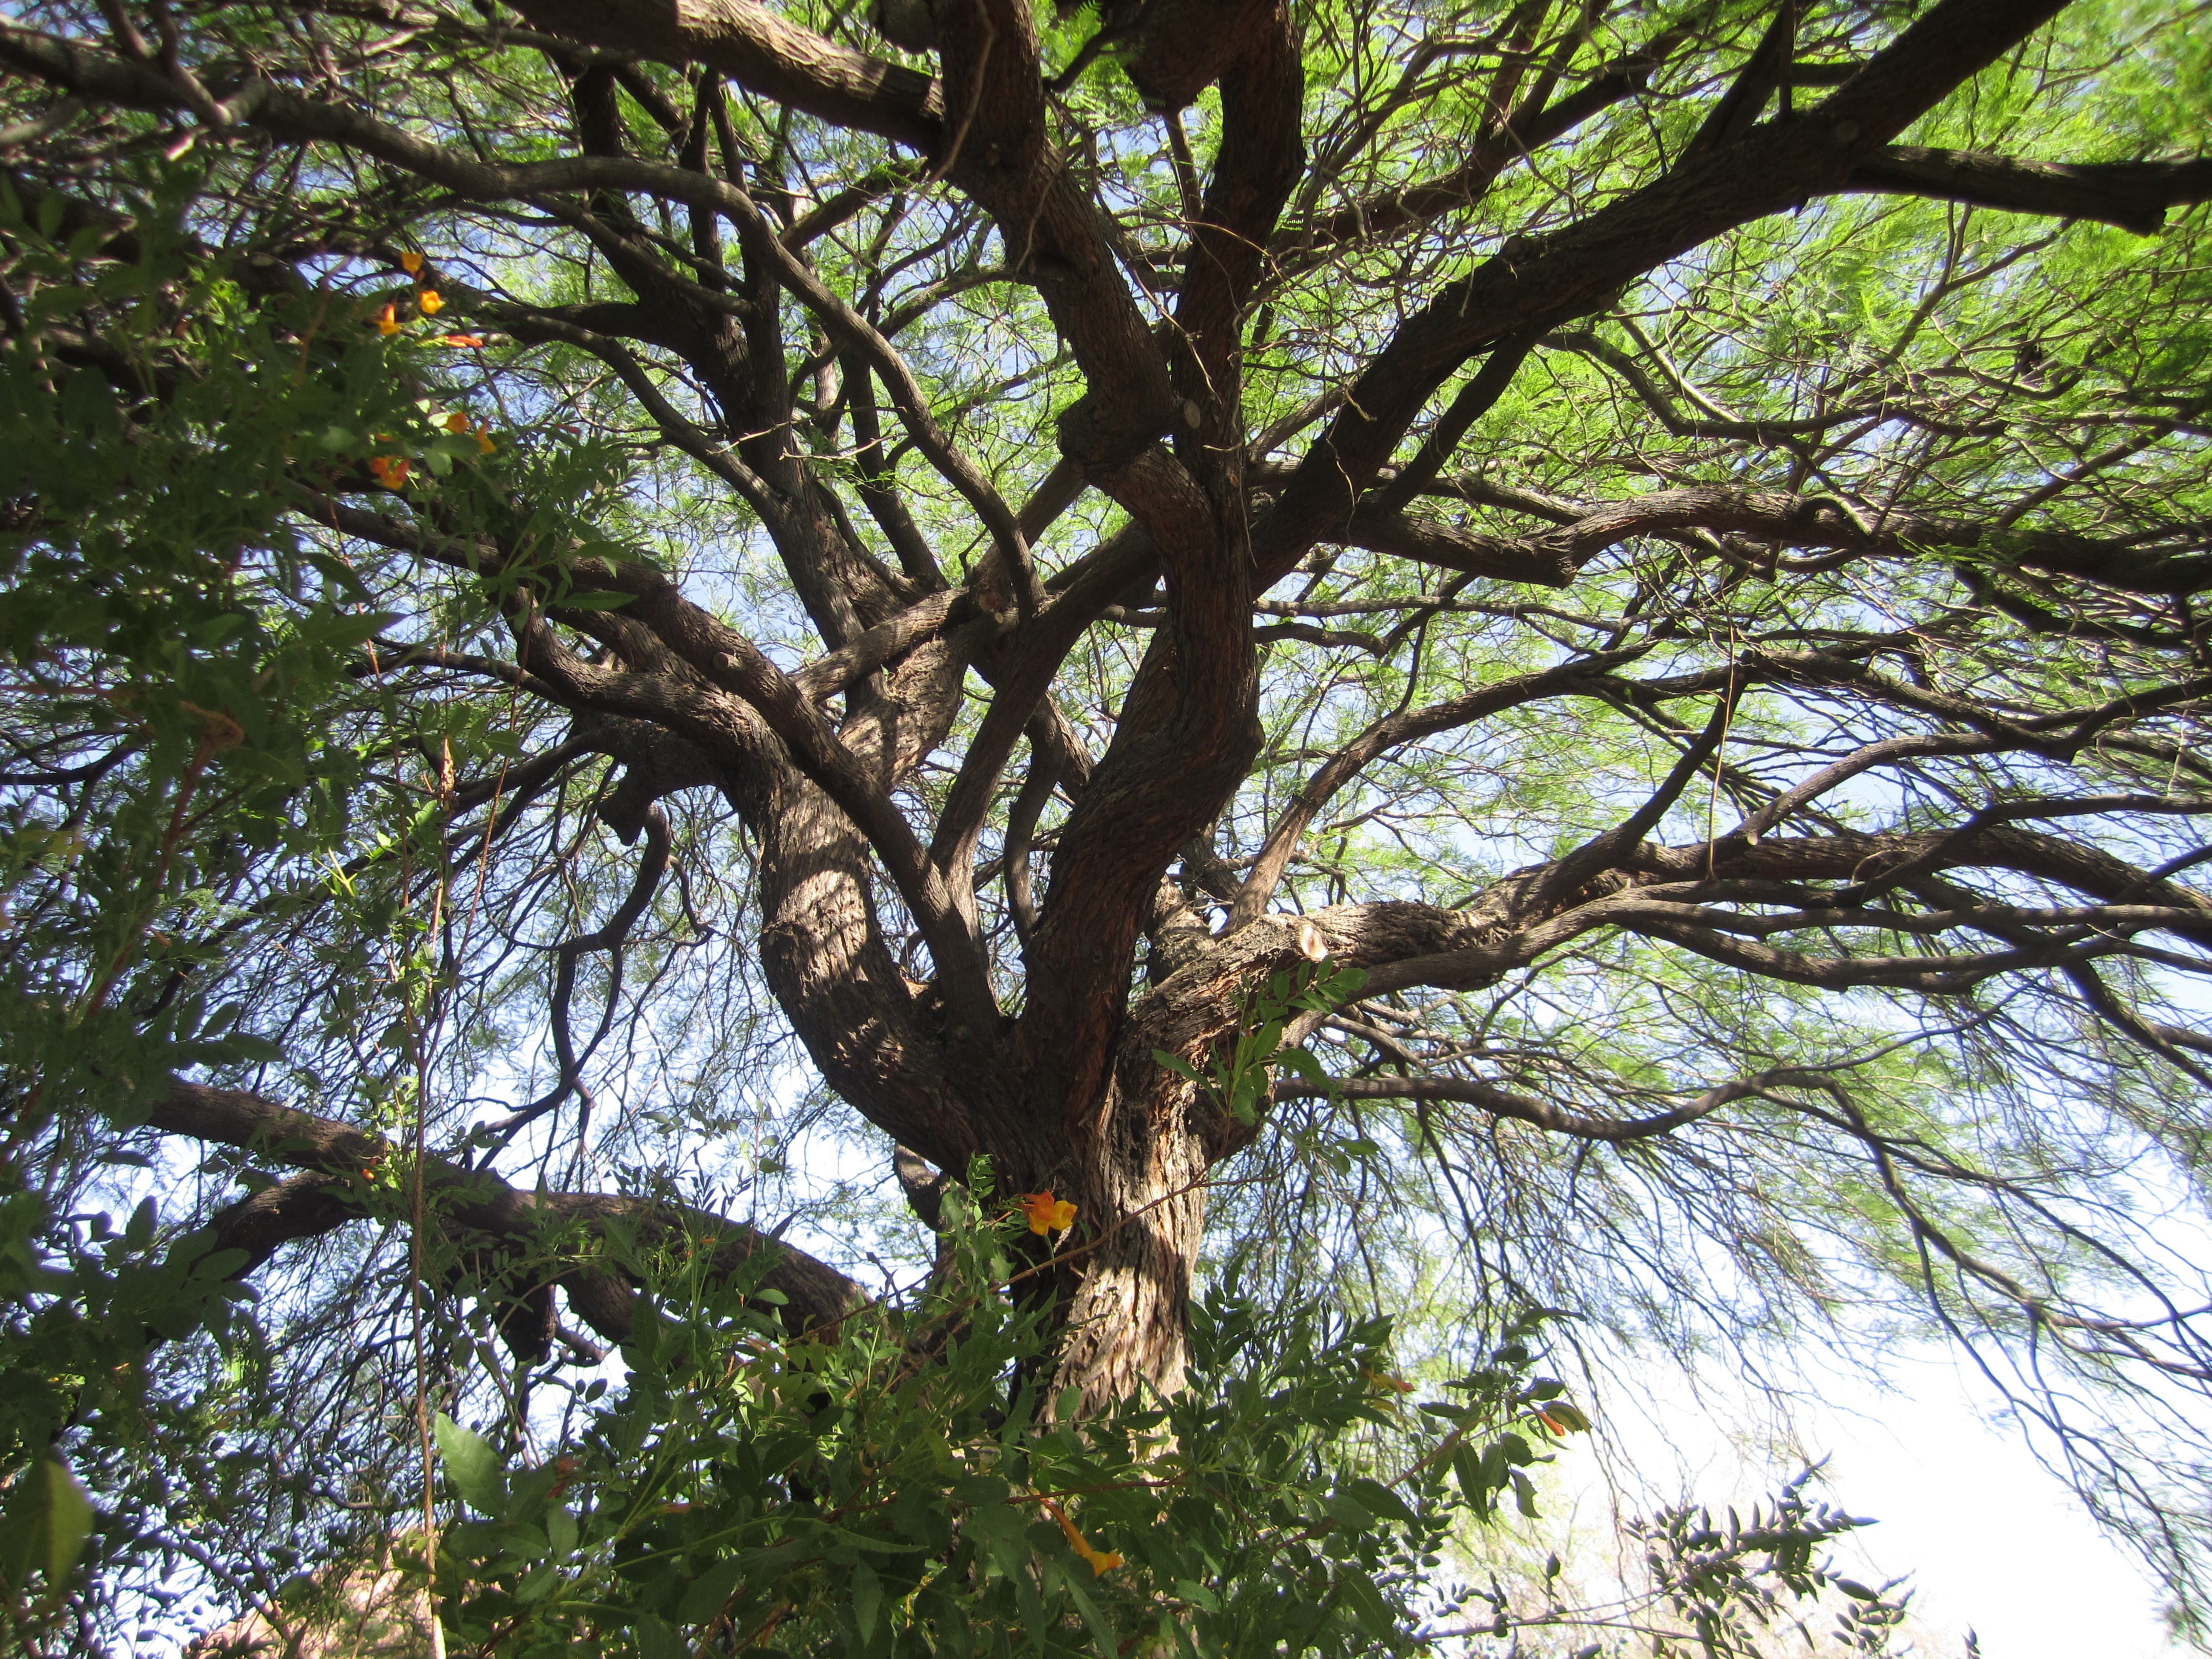
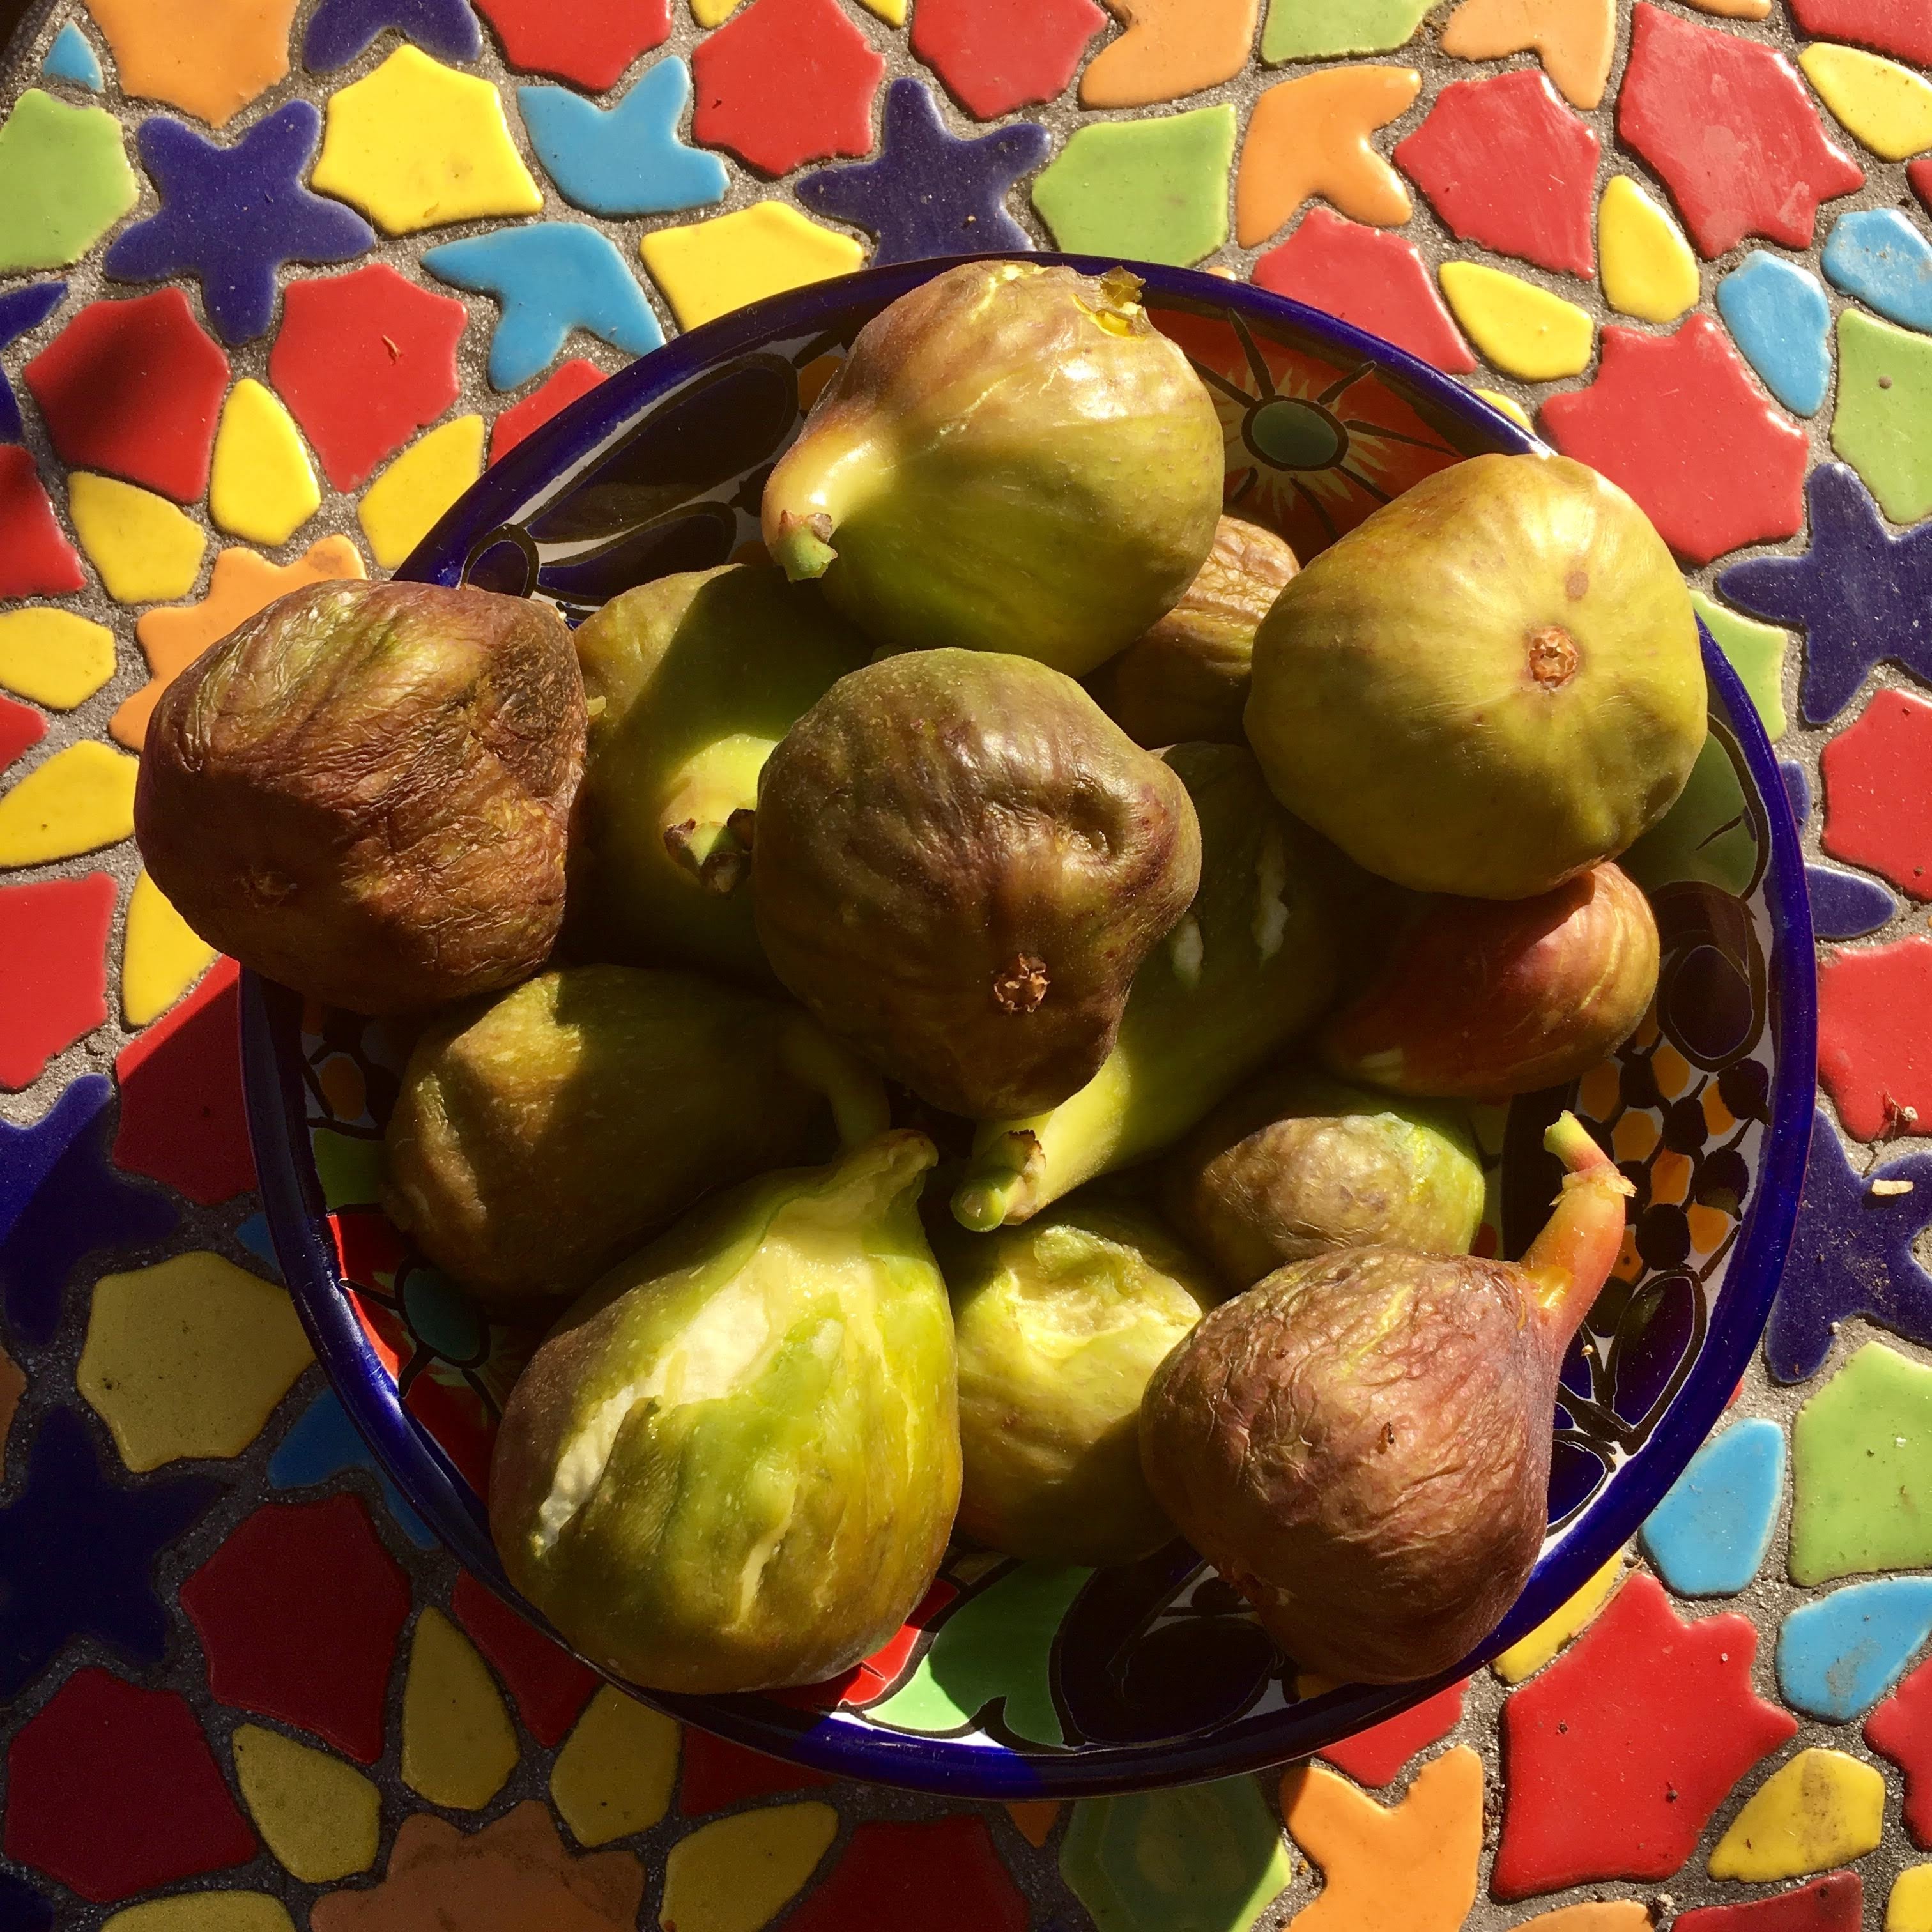
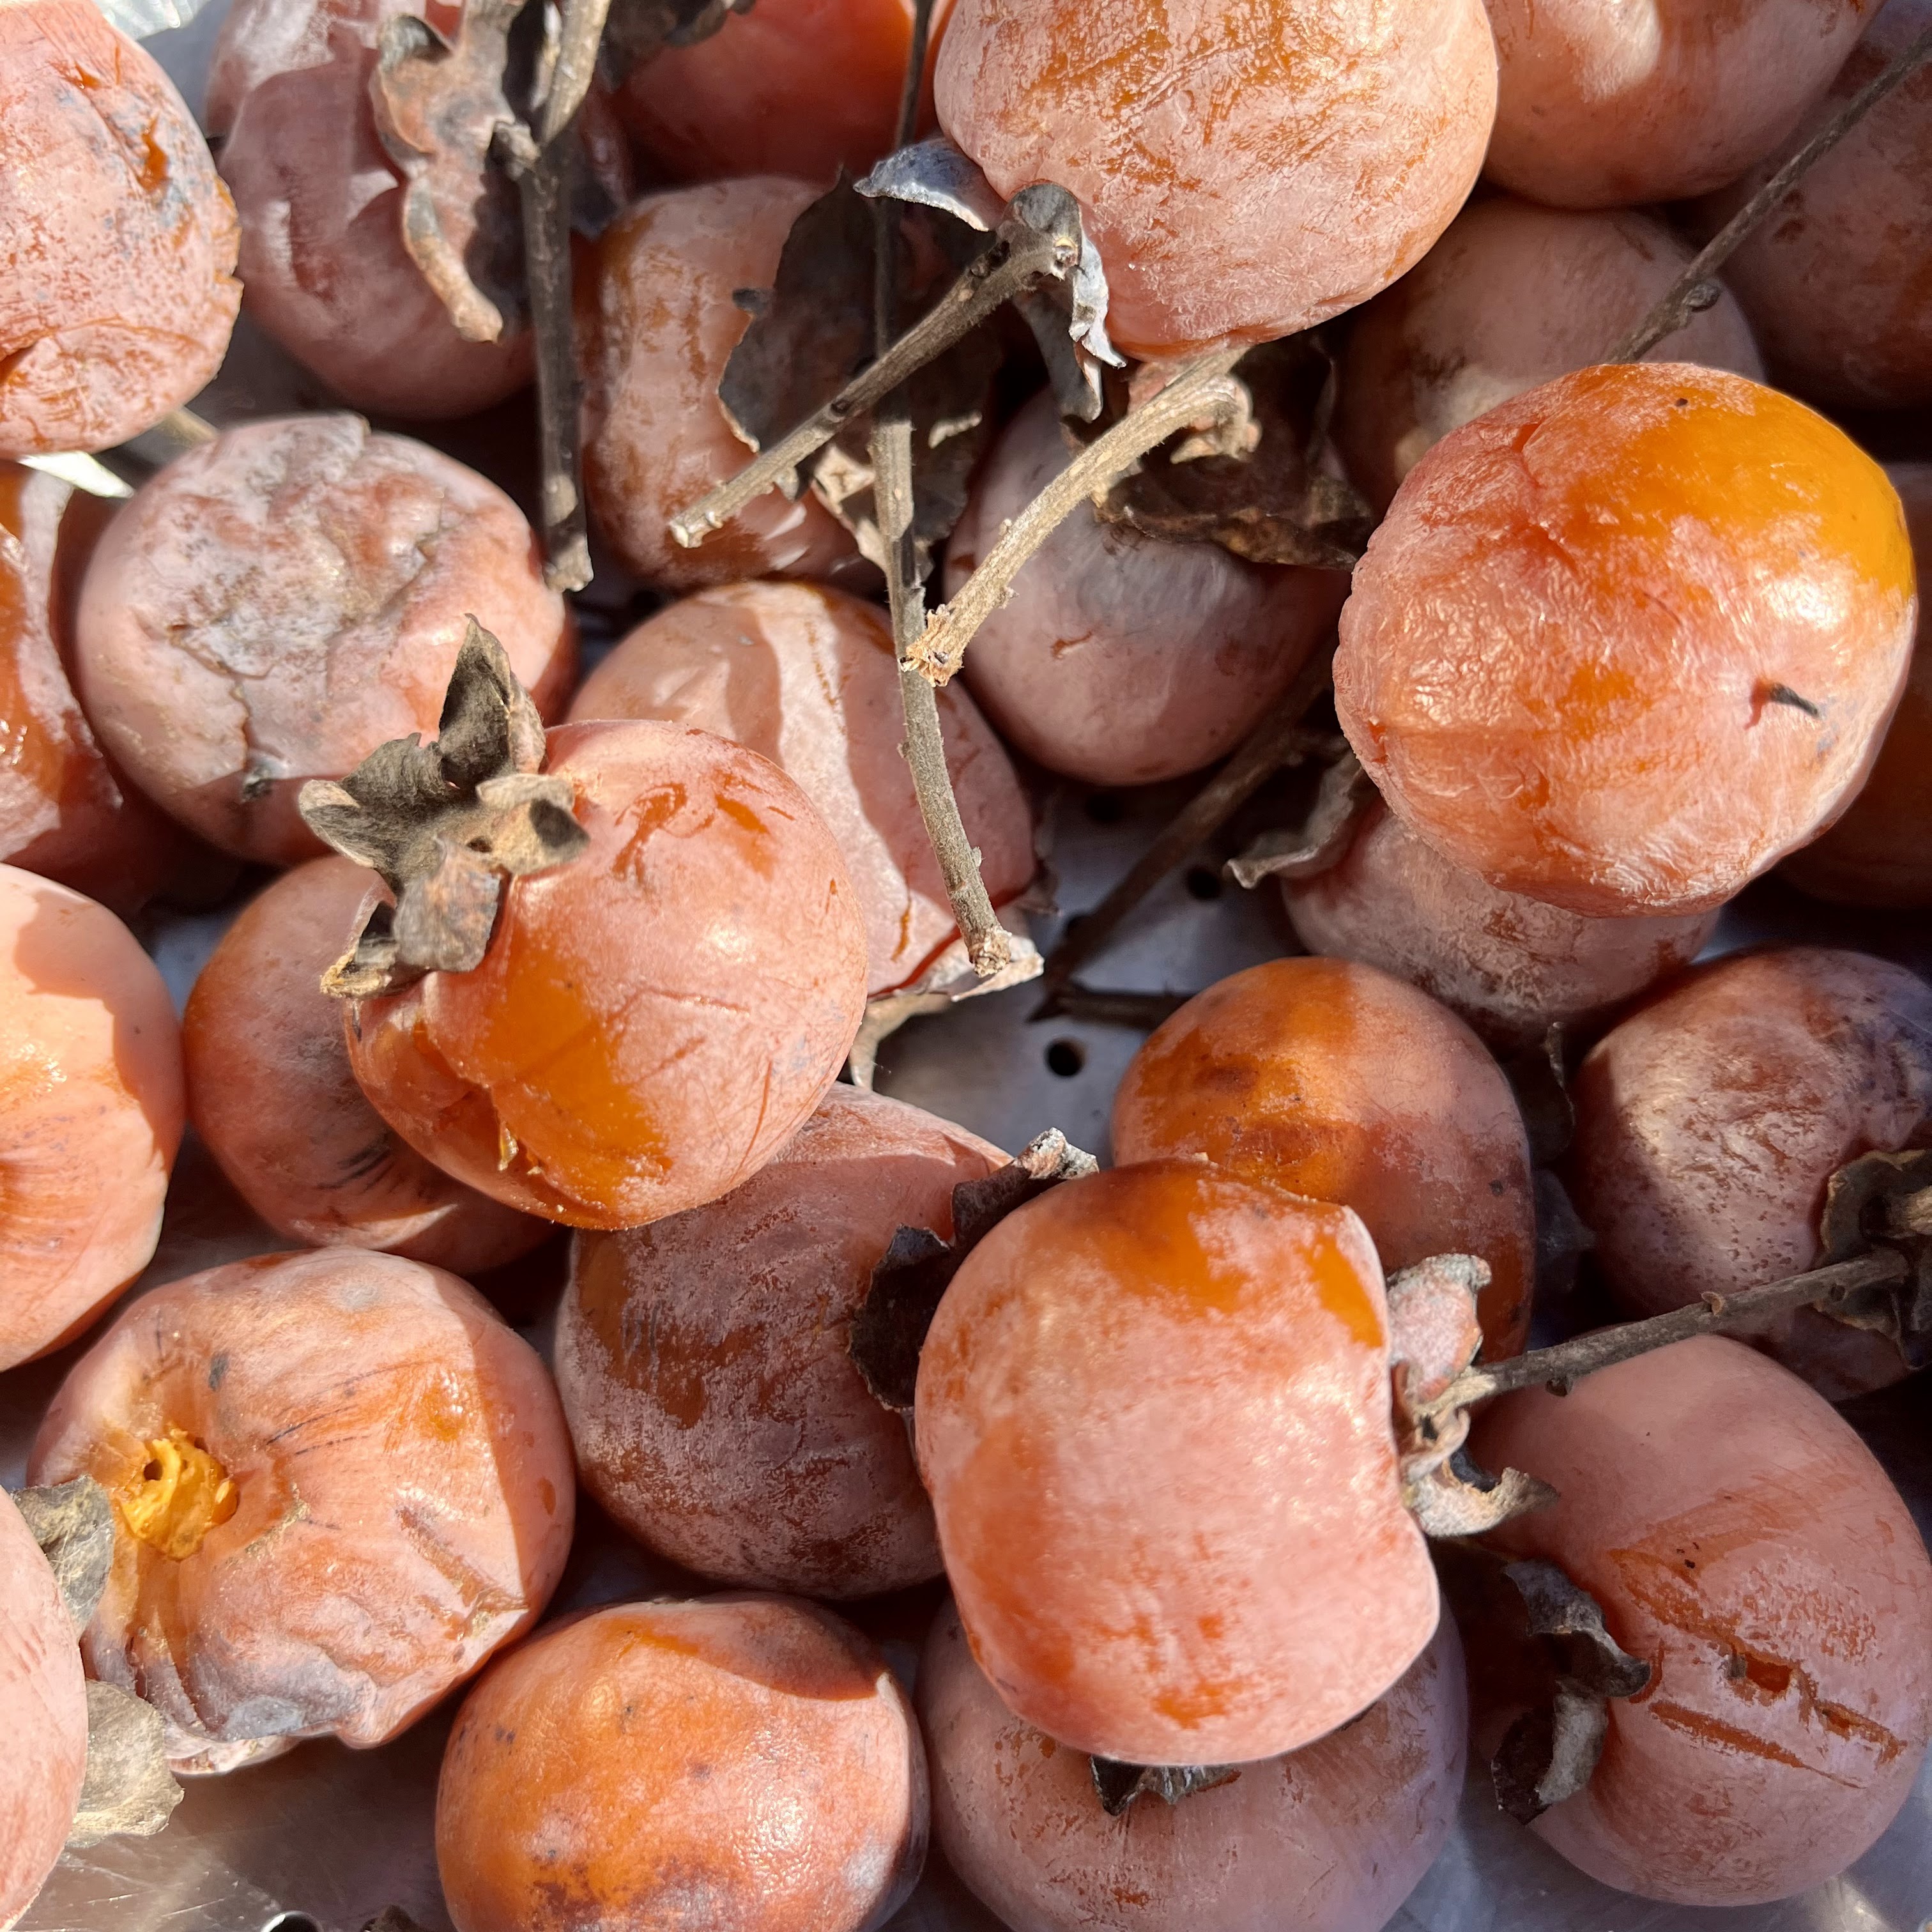
You may have seen Asian persimmons in a grocery story. Those lovely orange orbs are another story. They look like something exotic, sure, but they do appear similar to other things you have eaten. The American persimmon, a native tree, is different. First of all, the trees are spindly and not so lovely on their own. In the south, where I live and grew up, ice storms often break off the thin branches closer to the ground. I suspect possums and raccoons also help, as they hunt after the sweet fruits at the narrow ends of boughs. (They are sometimes called possum apples!) And when the fruits are ripe, they hang off the barren branches, their leaves having already fallen to the ground. They look sort of pretty up there, a dusky orange against a cold blue sky.

Note the persimmon smash on the road. That’s the best way to find a ready tree as you are driving through the country.

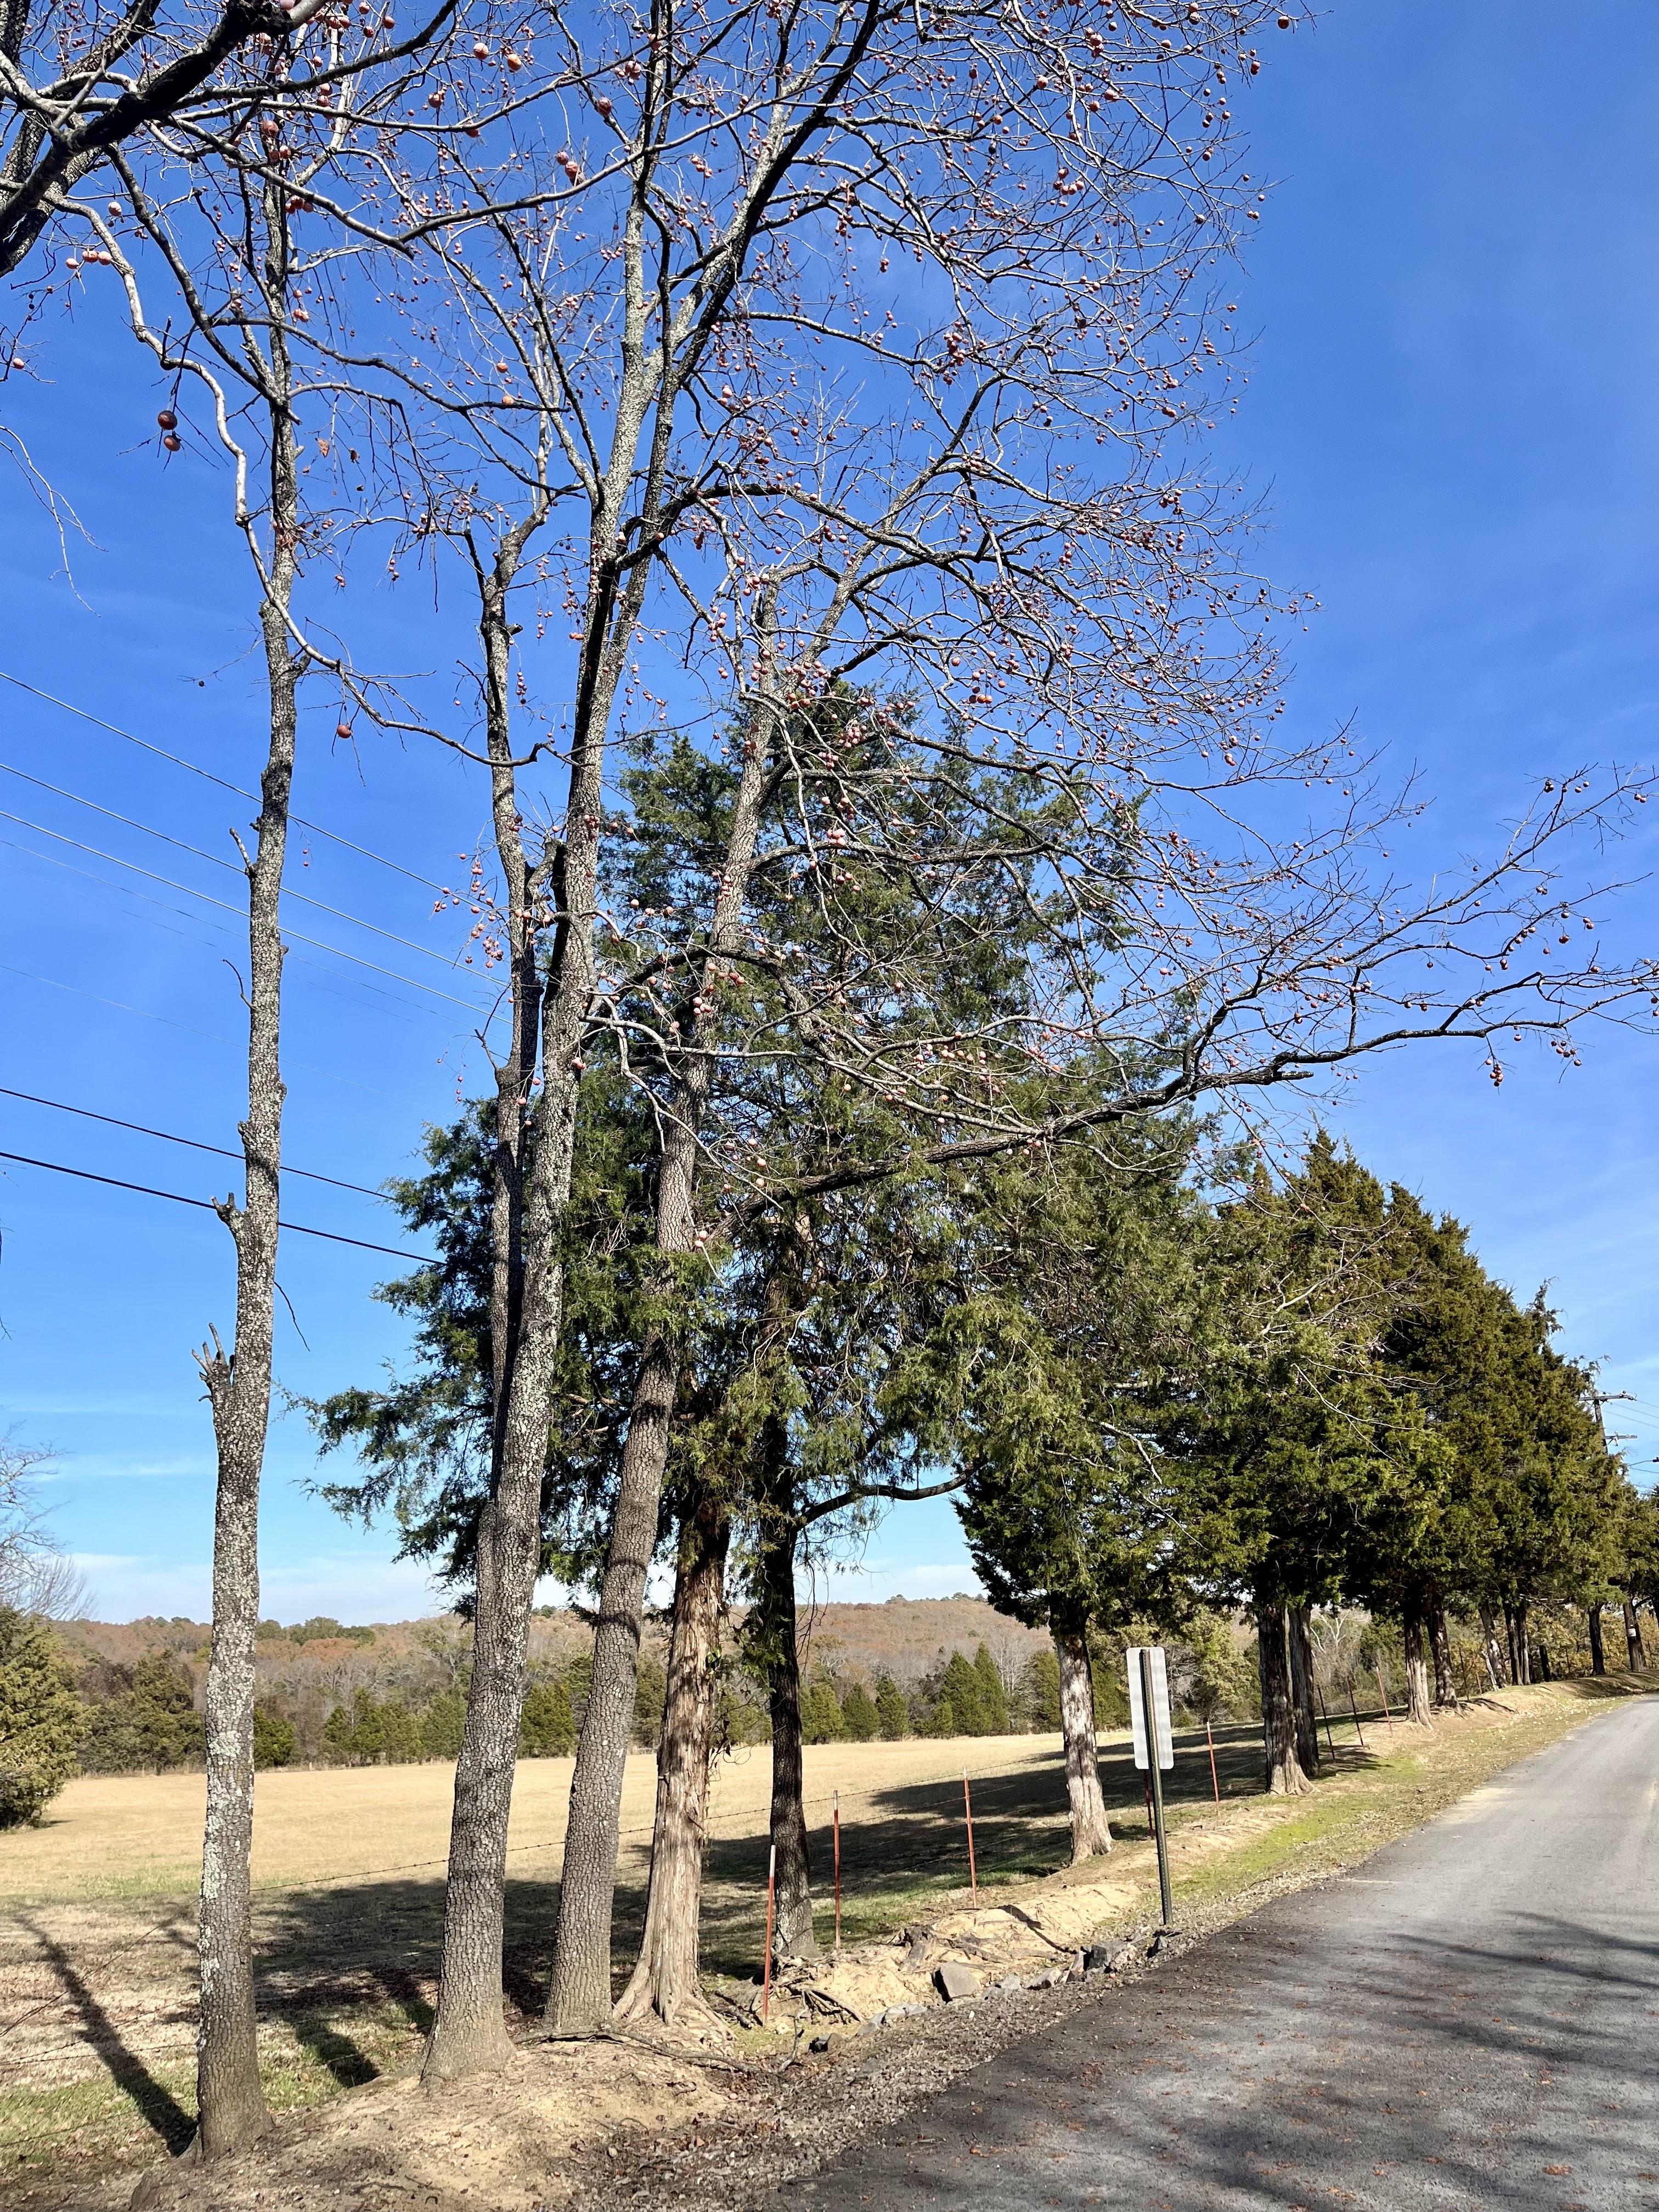
But those high-up and pretty fruits, though ripe, are not the ones you want. In fact, a ripe persimmon is an inedible persimmon. Many folks in the south can tell you about the time someone, an older sibling perhaps, tricked them into biting into a firm, orange persimmon. The fruit at that stage are so astringent and full of tannins they will suck any moisture right out of your mouth, leaving you swearing off the very idea of gathering food from nature forever. If you’ve had this experience, you won’t soon forget it.

No, the ones you want are beyond ripe. They have been on the tree a while, after the first frost for sure. They have softened up quite a lot, called bletting, and when they are ready to eat, they fall to the ground. They are tender now, and wrinkled, and because they have fallen to the ground, they may have smashed a bit. They may have dirt on them, and they are lying next to seeds that have very likely been rejected by a raccoon, or by other persimmons that have been pecked by a bird or bitten by some other animal. They are probably still attached to twigs. They are, in fact, rotting slightly.

Don’t eat the pretty ones

And, of course, you are a young teen, probably, and mortified by anyone seeing you do anything weird, which is to say doing anything at all with your parents. What you are doing now is picking up squashed and dirty fruit by the side of a road and putting it into a grocery bag. If you didn’t happen to have a bag in the car, then you are holding gooey fruits in your hands, trying not to look like you are collecting poop from some unfortunate wild animal.

Even as an adult, trying such a fruit for the first time might be a bridge too far. As you break one open in your hands, you’ll find them full of large, dark brown, inedible seeds. But something about that rich amber pulp, now soft and similar in texture to the inside of a blueberry, is enticing. If you do take the risk and touch your tongue cautiously to the flesh, you’ll find a deep sweetness. To me, they taste like fall, like they have already had nutmeg added to them. Like an autumn fig. Like a secret forest treat.

You know you want to try it.

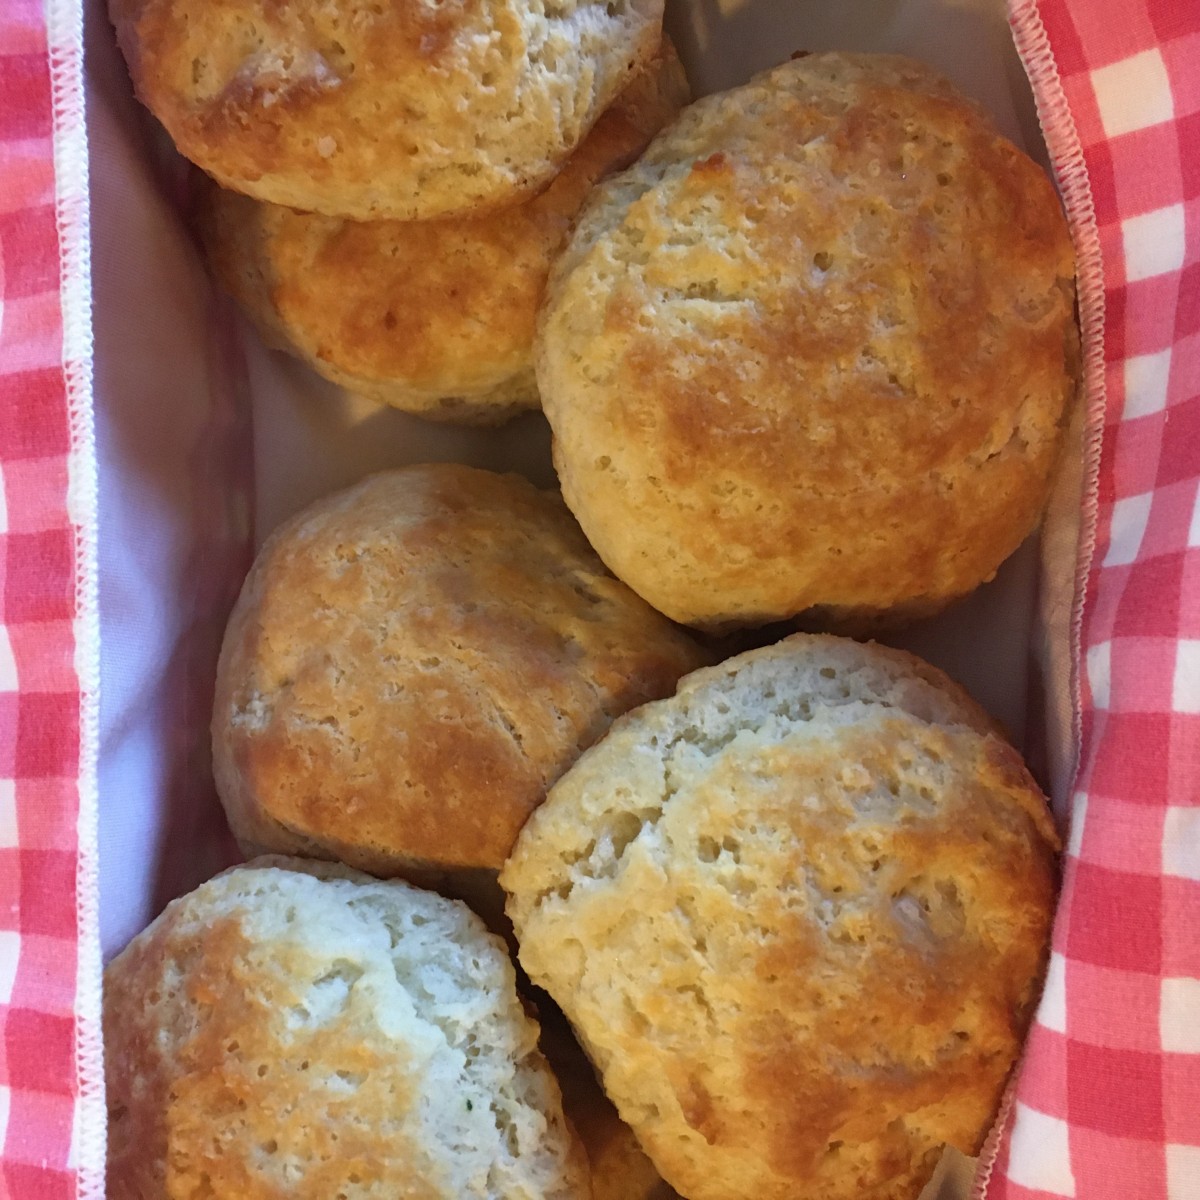
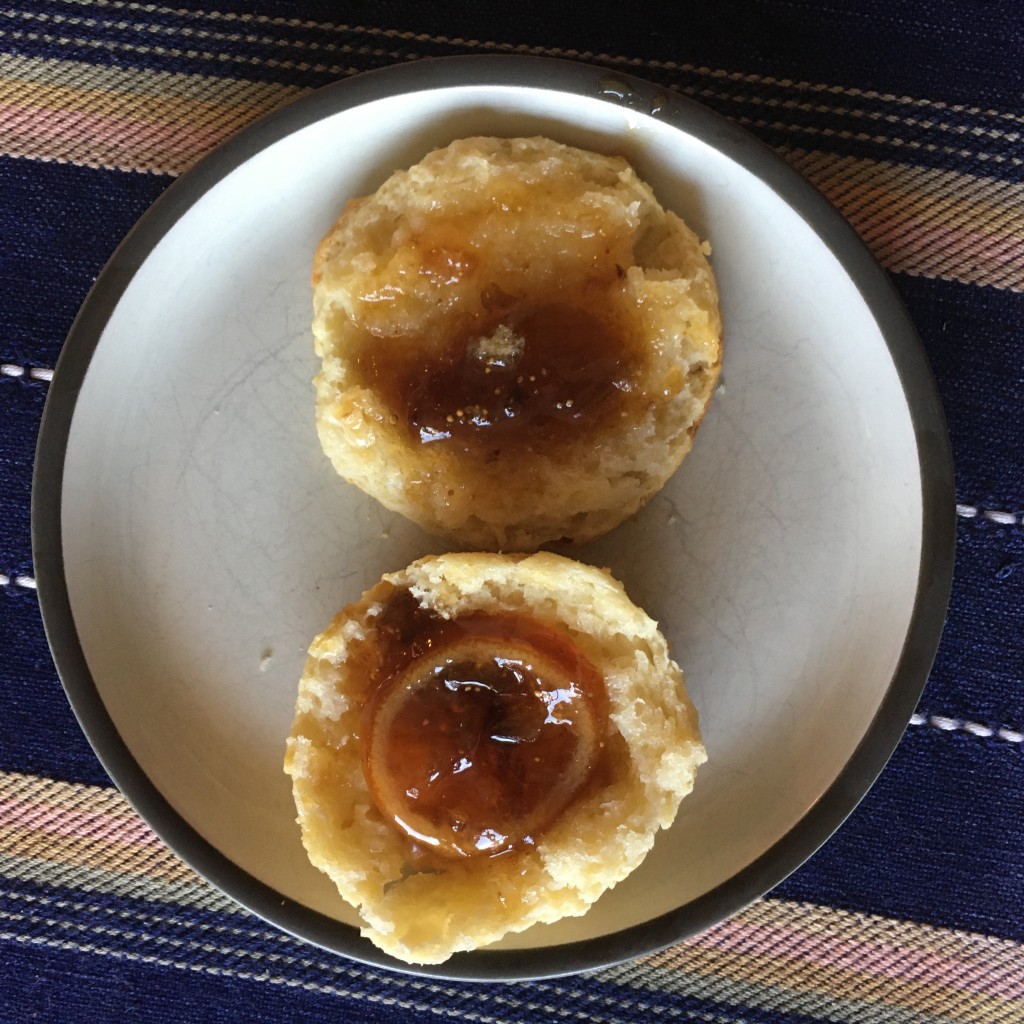
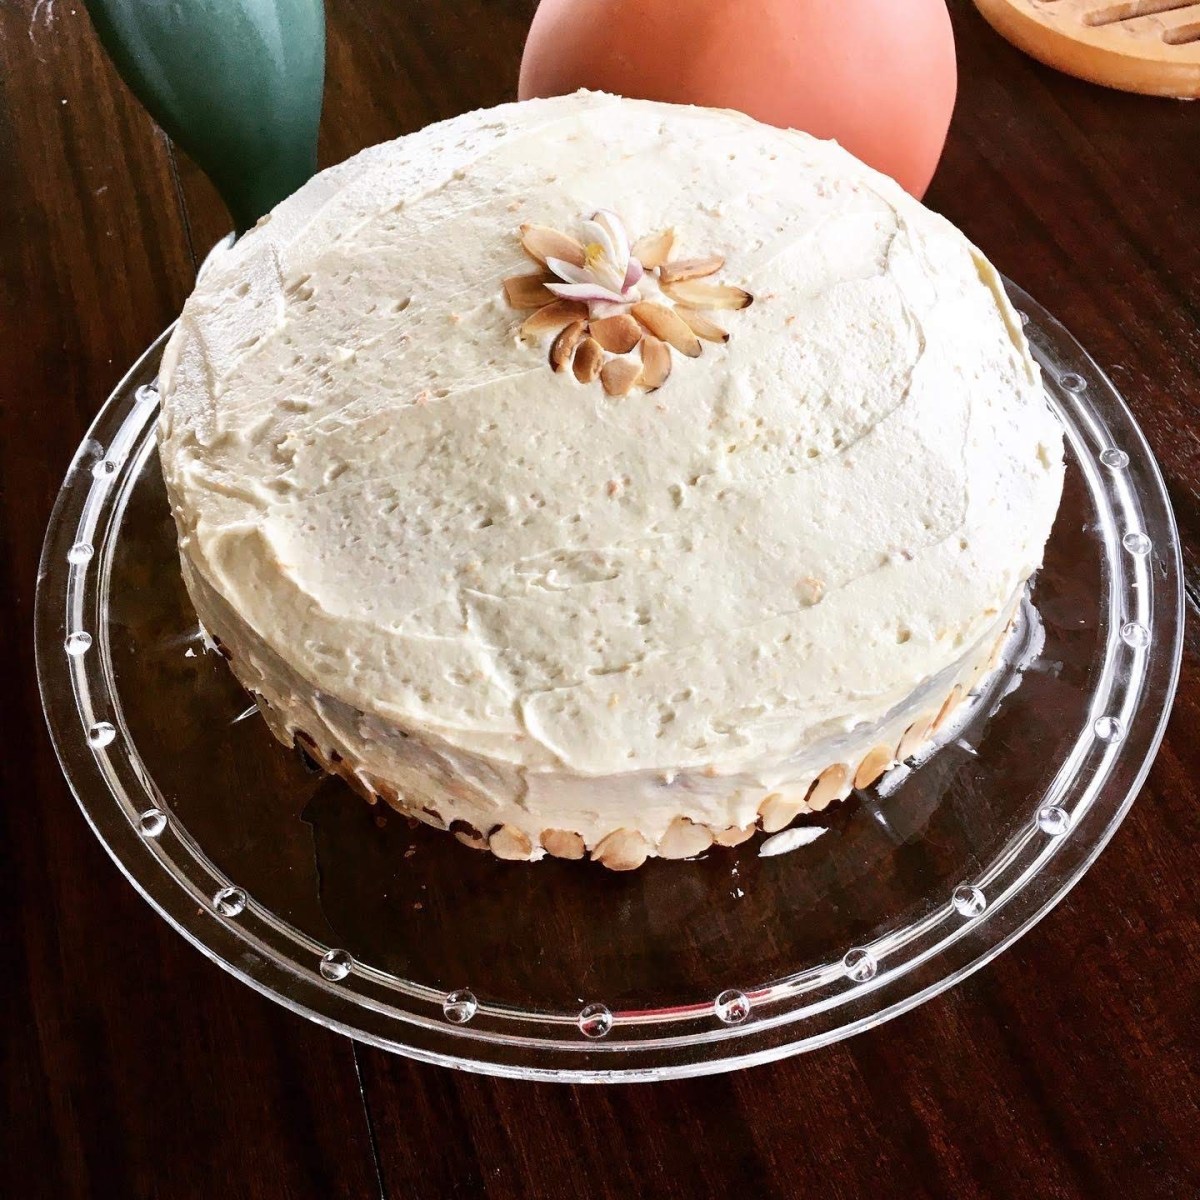
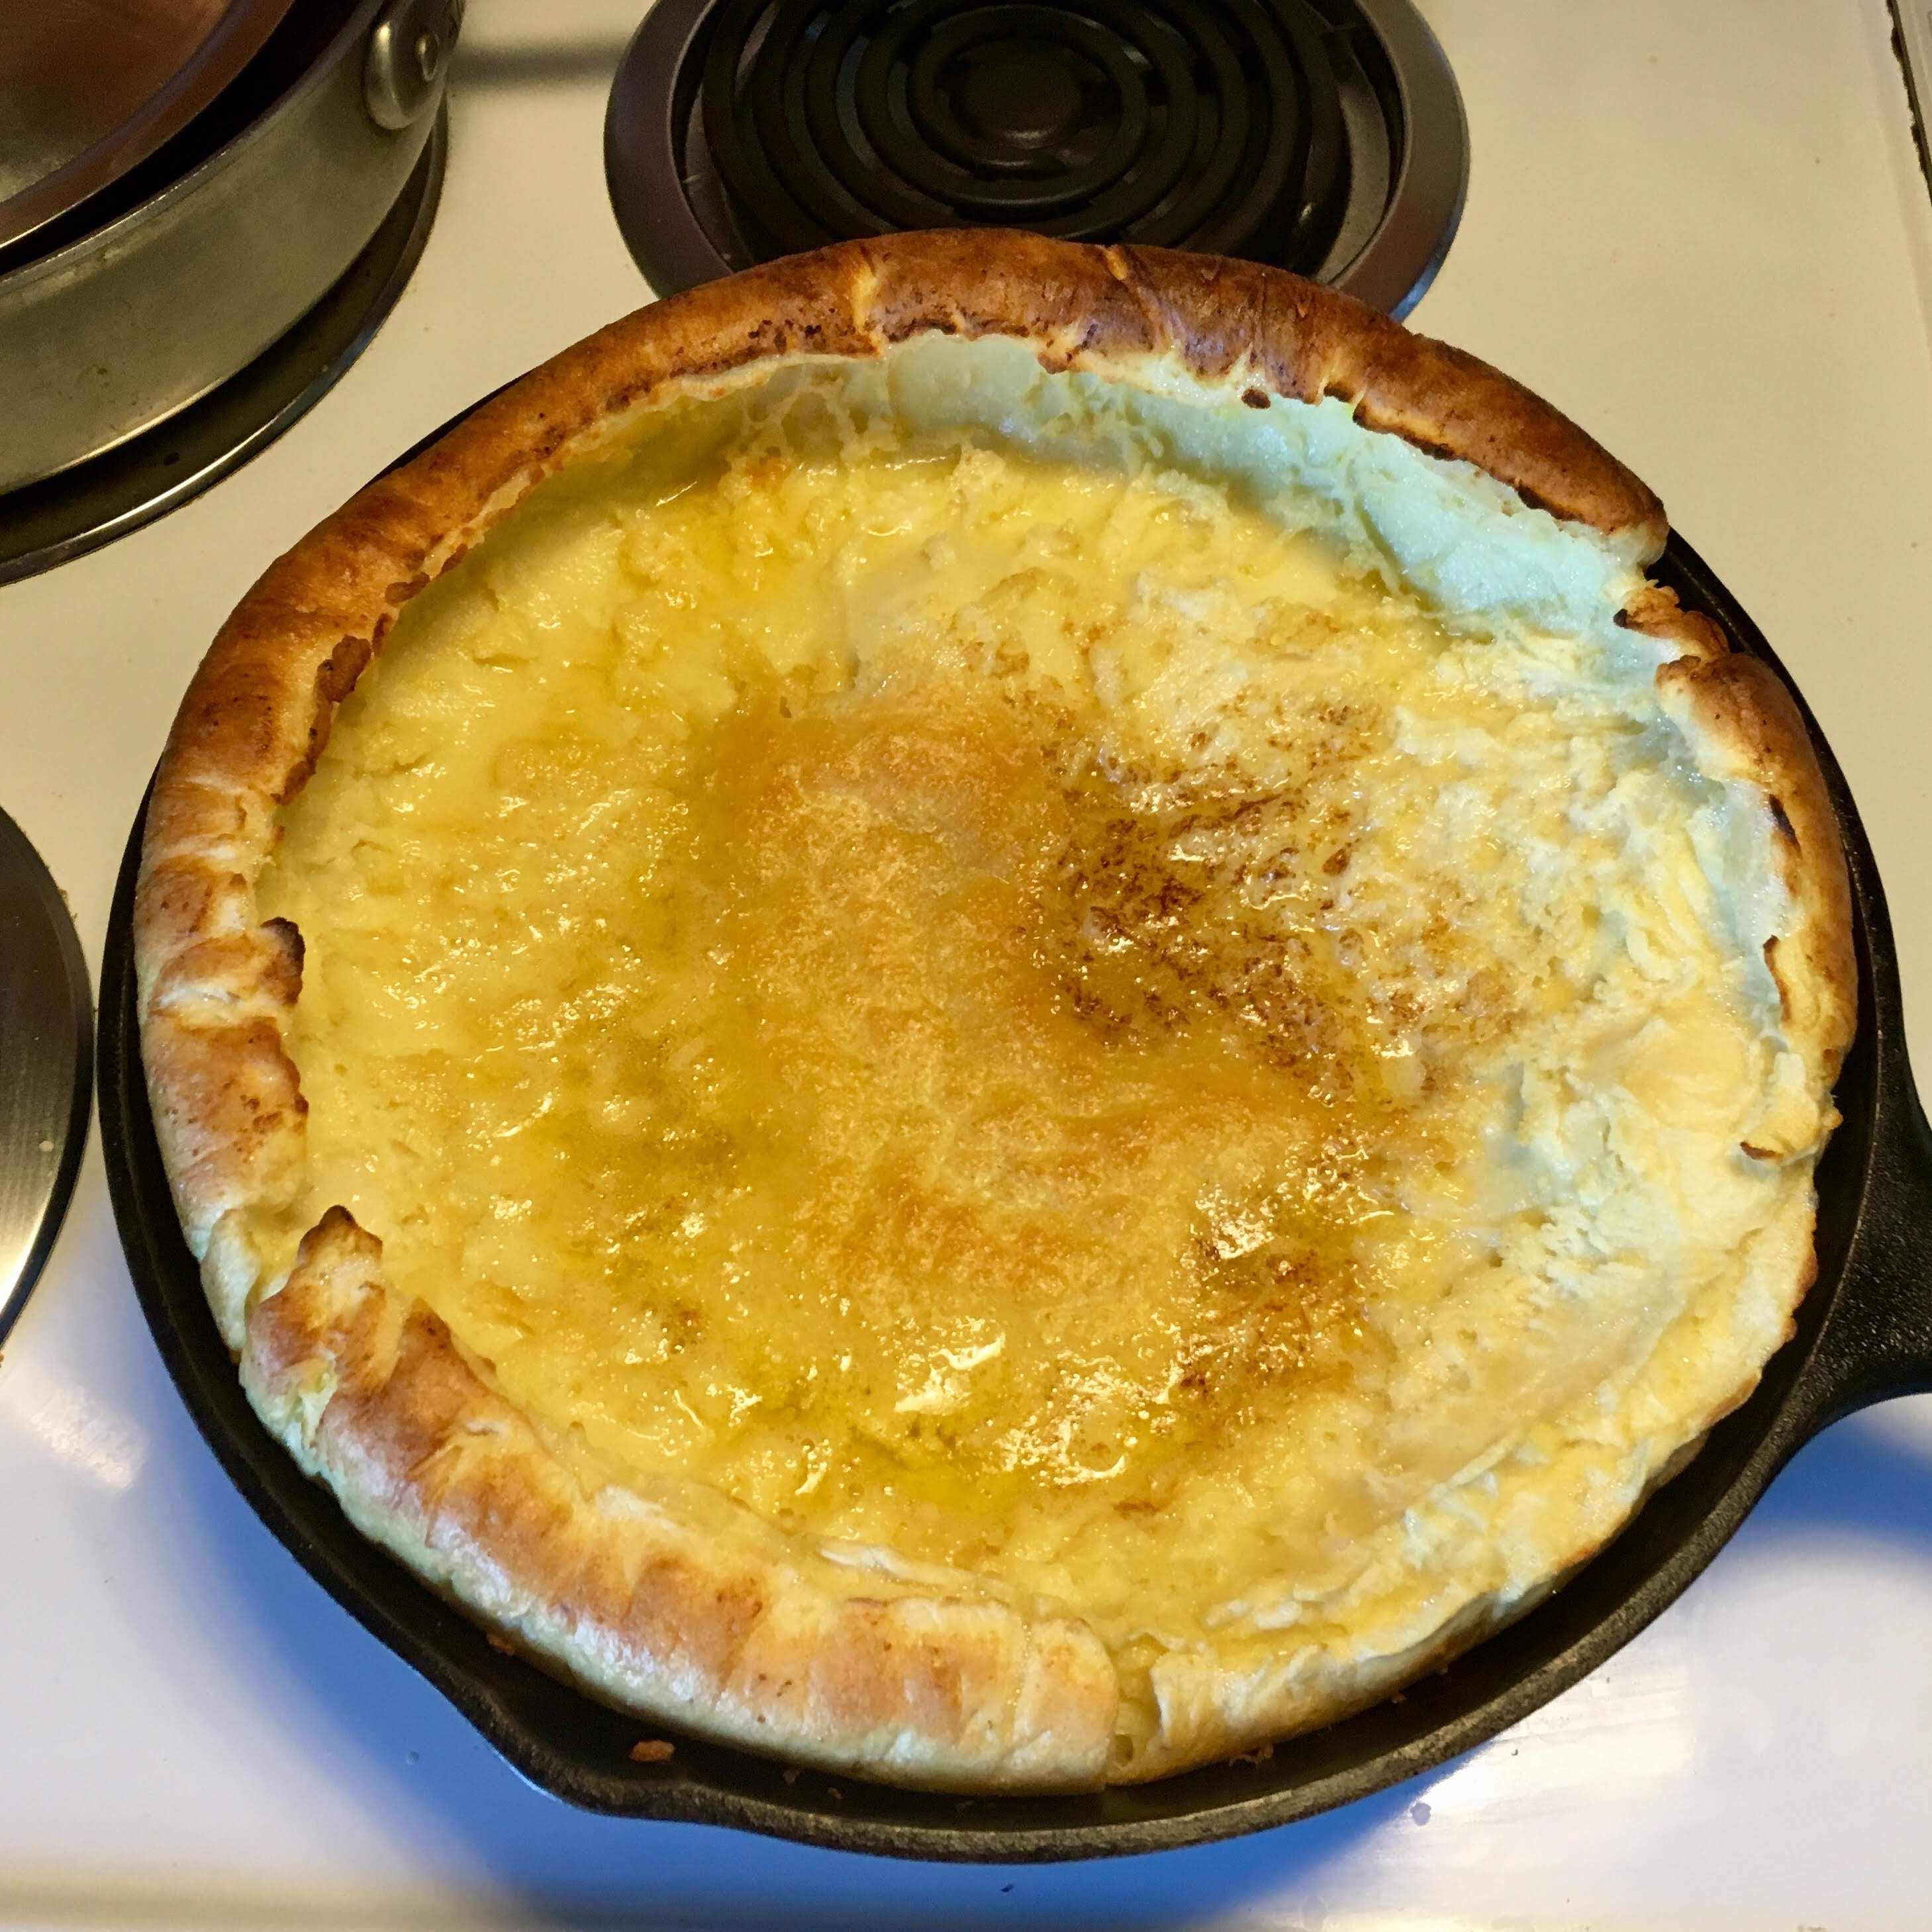
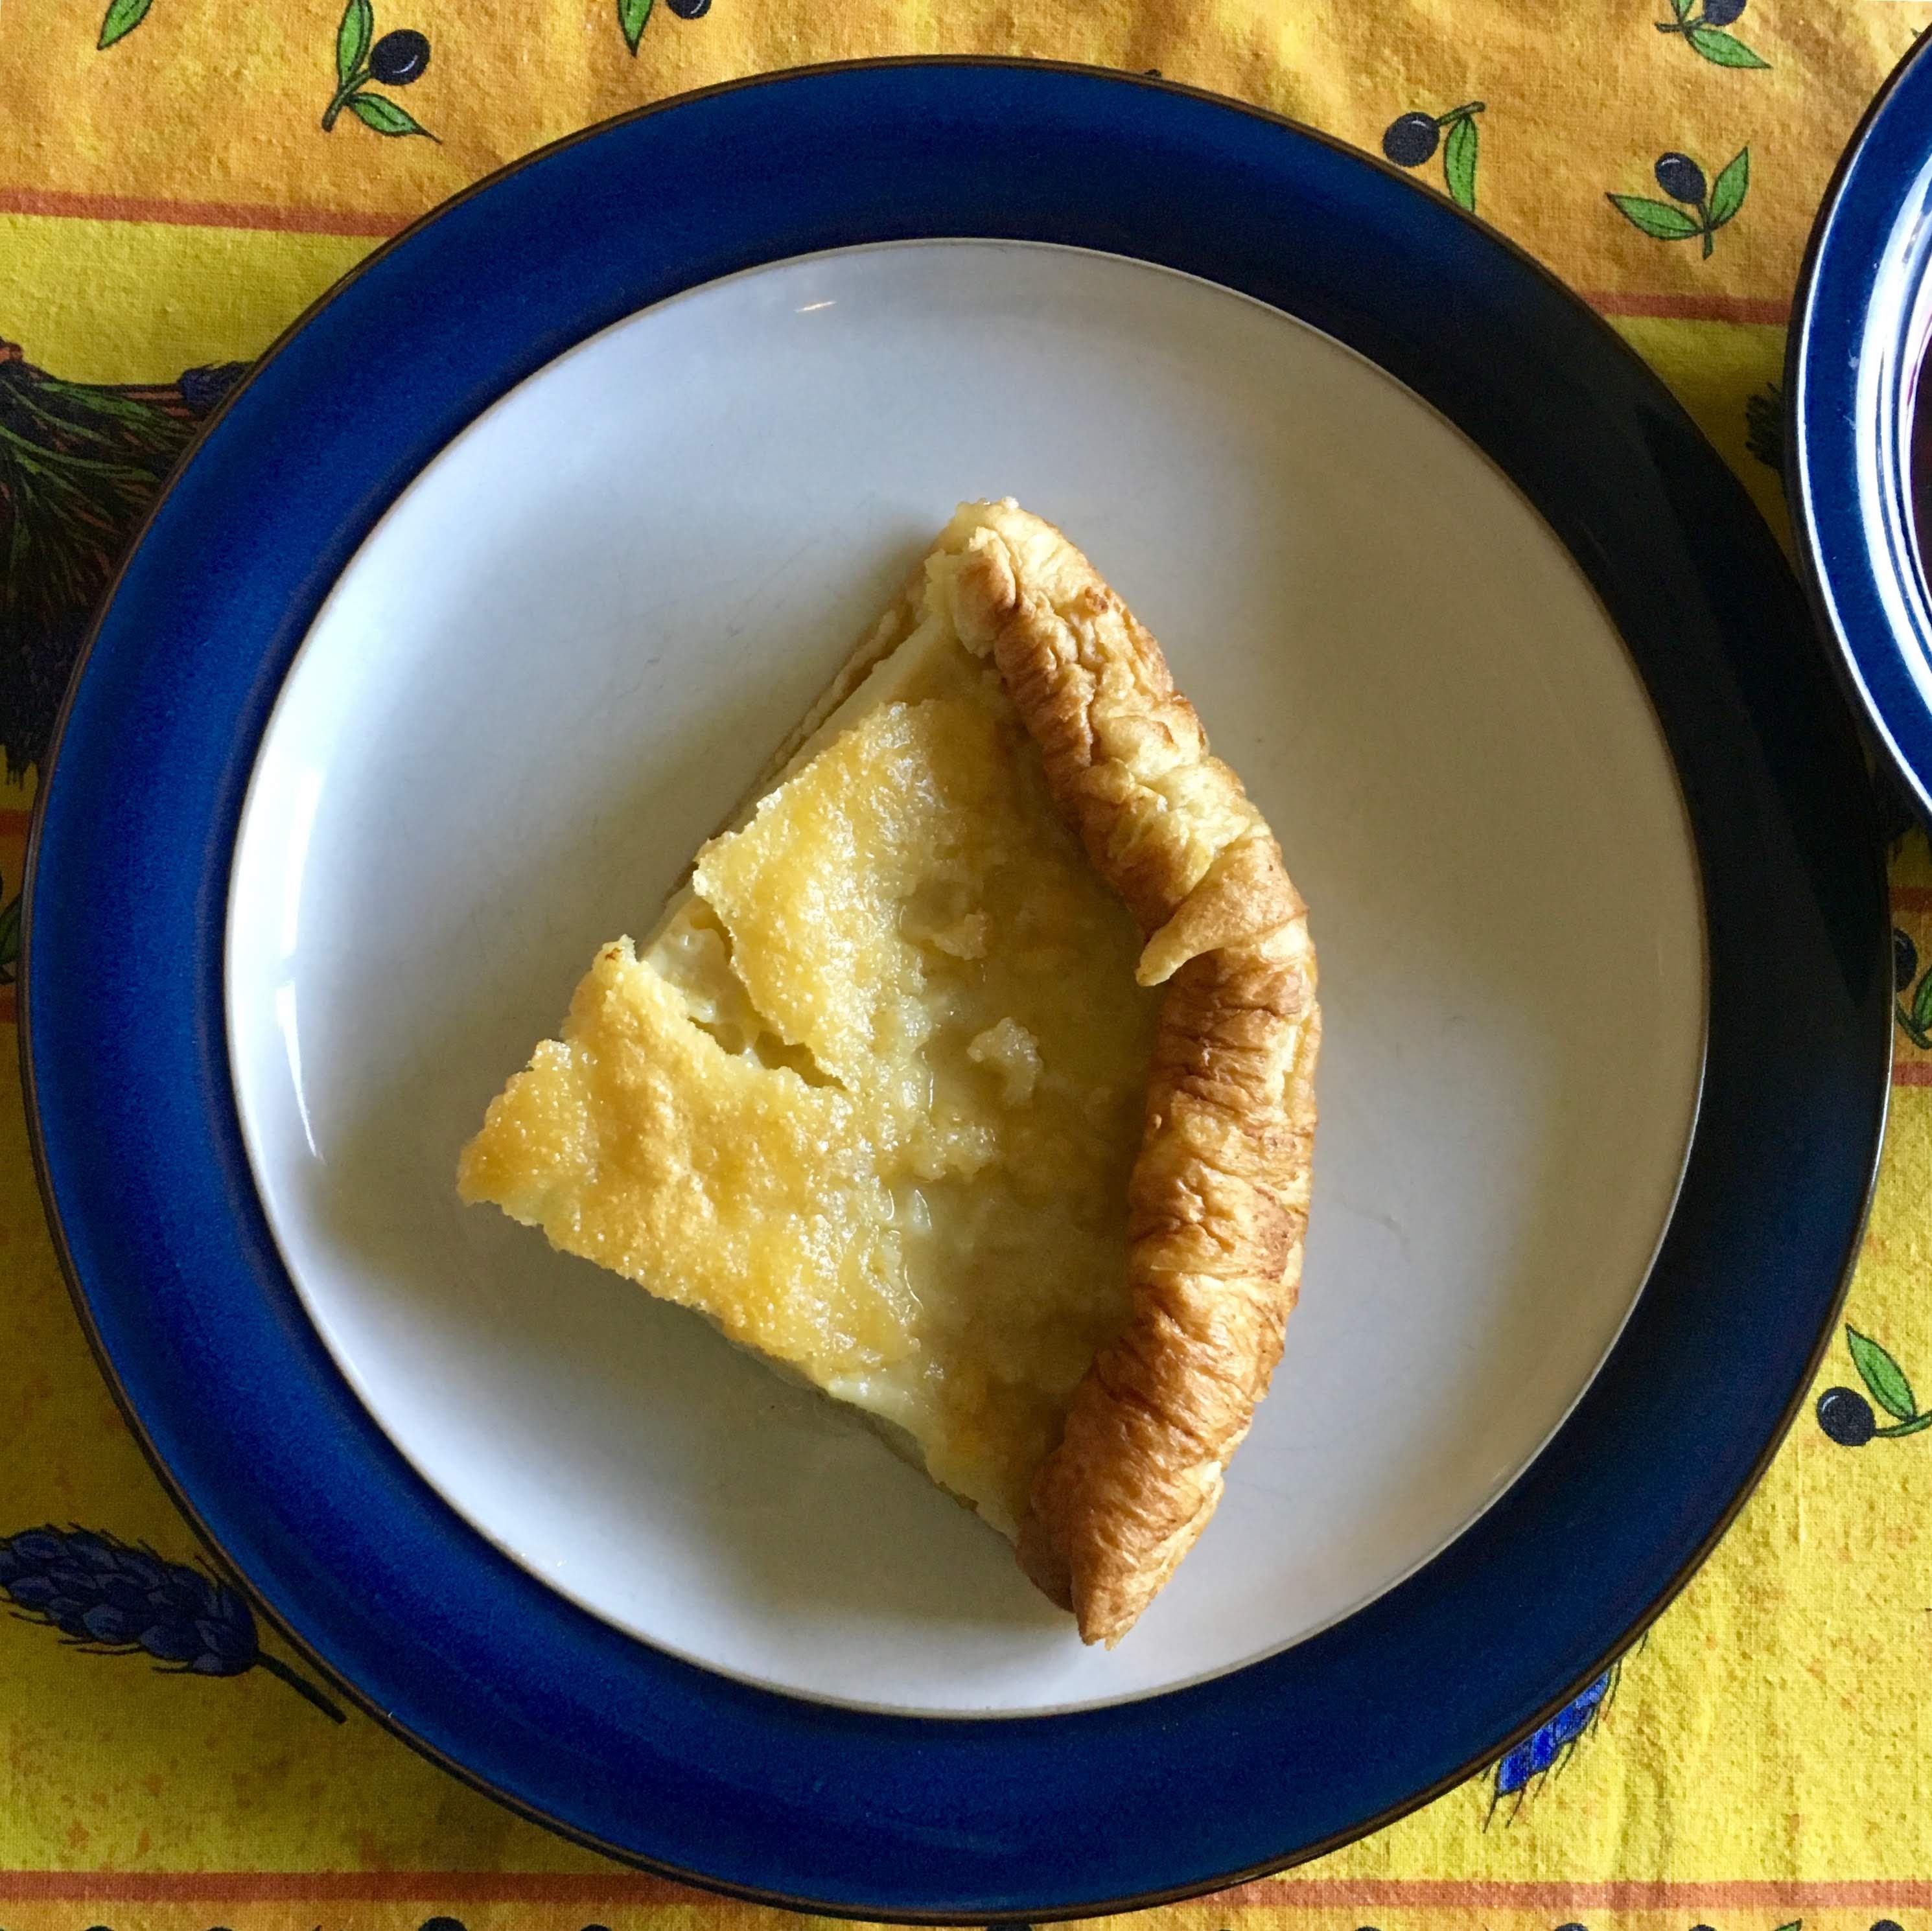
Maybe it’s the risk that makes them so special. You have to find a tree first, best located by an orange-y slick on the road below a skinny tree. No one I know cultivates American persimmons. You have to time it right, and the harvest day will be cold. Picked too early and the taste is terrible. Indeed, eating unripe persimmons can cause a woody phytobezoar, or foodball, to develop in the stomach. (Fascinatingly, these can be dissolved by Coca-Cola of all things!). So don’t snack too soon! From the look, to the tannins, to the embarrassment of collecting food by a roadside, it is easy to be dissuaded. Yet, when ready, they are truly delicious. A persimmon cake with buttermilk frosting tastes like the very best day in November. Persimmon pudding is an old-time favorite. For me, the absolute best way to use persimmon pulp is in a cheesecake. It’s enough trouble to make that I save it for Thanksgiving and make it on the Wednesday before.

I spoke with my class this week about the Slow Food movement, and they thought slow food might not be achievable in the U.S., where fast food and convenience reign. But I think hunting for a wild and difficult native food like a persimmon (or a mushroom or dandelion greens) gives us something more than calories. It connects us to our place, forcing us outdoors and into paying close attention to nature. It slows us down. It makes us take a risk, touching our tongues carefully to something that might not be quite right. You can’t commoditize an American persimmon, because it’s already past ripe. It’s instability forces us to eat here, now. When I took my daughter with me this year to pick them up off the ground, they connected me to my childhood and my mother. There’s no way to eat more locally than to eat a persimmon. It can be tricky to learn to love the fruit, but the rewards are great.

Local and lovely

Here’s my recipe for Persimmon Cheesecake, which I adapted from the America’s Test Kitchen’s Spiced Pumpkin Cheesecake.

Thanksgiving favorites

American Persimmon Cheesecake

Crust
9 whole graham crackers
3 T sugar
½ t ground ginger
½ t ground cinnamon
¼ t ground cloves
6 T melted unsalted butter

Filling
1 ¼ cup persimmon puree
1 T vanilla extract
1 T fresh lemon juice
½ t baking powder
1 1/3 cup sugar
1 t ground cinnamon
½ t ground ginger
¼ t grated nutmeg
¼ t allspice
¼ ground cloves
½ t salt
24 ounces cream cheese at room temperature
5 large eggs at room temperature
1 cup heavy cream

Brown Sugar and Bourbon Cream

1 cup heavy cream
½ cup sour cream
1/3 cup light brown sugar, packed
1/8 t salt
2 t bourbon

To make the crust, combine the dry ingredients in a food processor until evenly ground. I’ve also used a ziplock bag and crushed the graham crackers with a rolling pin. Add the melted butter and stir until combined. Press into the bottom of a 9-inch springform pan. Bake at 325o for 15 minutes. Set aside to cool.

For the filling, process the persimmon puree by removing the seeds from the over-ripe persimmons and pressing through a food mill. I have also used a strainer and a spoon, mashing the pulp through the holes. Don’t worry about removing the skin. Mix the pulp with the vanilla, lemon juice, and a little baking powder (if desired). Set aside.

Mix together the sugar and spices in a small bowl. Beat the cream cheese in a stand mixer (or with an electric beater) until smooth. Add all the spice mix in three additions and blend until well combined. Add the persimmon puree. Note that it has congealed! Mix well. Add the eggs one at a time and mix well. Add the heavy cream. Mix well, using a spatula to scrape the sides and bottom to fully combine. Pour the filling into the springform pan.  Wrap the springform pan with foil on the base so that the water bath won’t seep in the sides. Set that pan in a large roasting pan. Add boiling water (about a gallon) to the roasting pan until it comes halfway up the outside of the springform pan. This water bath will help the cheesecake cook evenly. Bake at 325o for 1 ½ hours, until a thermometer reads 150o in the center of the cheesecake.

Remove the roasting pan to a cooling rack and let cool there for about 45 minutes. Then remove the springform pan to the cooling rack to come to room temperature (about 3 hours). Wrap springform with plastic wrap and refrigerate for at least 4 hours or overnight. Serve with the Brown Sugar and Bourbon Cream.

To make the cream, combine all ingredients but the bourbon and whip until combined. Chill for at least four hours. When ready to serve, stir in the bourbon and whip until fluffy and about doubled in size.

Biscuits, My Mom, and Edna Lewis

If I had to choose a single page in a single cookbook that was the most precious to me, I would choose this one.

If I had to choose a single page in a single cookbook that was the most precious to me, I would choose this one: the recipes for cornbread and biscuits, written in my mother’s own hand, in a spiral bound composition notebook.

Stained from countless uses, it doesn’t actually have any instructions for the biscuits, save the temperature and how long to bake them. That knowledge didn’t need recording on paper for me. My mom wrote just five pages of recipes in this little notebook she gave me some time after I graduated from college. She later gave me a larger three-ring binder of Xeroxed recipes, also written in her own hand, from her own composition notebook with many more recipes that she’s felt the need to record over the years. It used to have a colorful collage she made glued on the front, but that has since been torn off from the number of times I pulled it off my cookbook shelf. I do have the black-and-white copy of that image on the first page in that notebook, along with her inscription to me.

That inscription bears a strong resemblance to the one she wrote in Edna Lewis’s classic cookbook, The Taste of Country Cooking. There she wrote:

My Big Queen

Have a wonderful time with this book – I have.

Love Mom

I grew up in Richmond, Virginia, but neither side of my family was recently from the south. My maternal grandmother grew up in Memphis, but my mom had been raised in Kansas and New England, and my dad’s family was firmly from New York, having immigrated from Eastern Europe as Jews fleeing the pogroms and persecution at the turn of the 20th century. Nevertheless, my childhood memories of food are tied to the south, in large part because of my mom’s love of food and what food could tell you about a place. I recall a drive we made once, a rather significant drive in my memory, to a place that sold Lebanese food in rural Virginia. I tasted zaatar for the first time there, and remember the taste of their feta, so unlike what we bought in the grocery store.

We made a pilgrimage to Freetown, Virginia, as well. It was a good two hours from where we lived (it’s faster today with improved roads and someone who is not my mom driving) but it was the childhood home of Edna Lewis, the descendent of formerly enslaved people who founded the town once they secured their freedom. She wrote the recipe Mom used for biscuits, stewed blackberries, and a wide range of other dishes. The community wasn’t much to look at then. Mostly a post office and fields, really. Most folks had moved away. Indeed, Edna Lewis wrote in her introduction that after reminiscing with her siblings about gathering and preparing food:

I realized how much of the bond that held us had to do with food. Since we were the last of the original families, with no children to remember and carry on, I decided I wanted to write down just exactly how we did things when I was growing up in Freetown that seemed to make life so rewarding.

She wrote to preserve that connection to her ancestors, to the people who taught her about food and family and place. Her book is filled with stories, not just recipes. And the recipes reflect just who her people were in times of celebration. This is a book of Black joy if there ever was one.

Emancipation Day Feast

While I was a kid, my mom’s work on voting rights, restitution for forced sterilizations, and abolishing the death penalty had opened my eyes pretty young (for a white girl) to the depths of racism and anti-Blackness in Virginia. Her love of food and culture, though, shared the other side of the coin too. Her work allowed us to violate the apartheid of the south in the 1970s and 80s, and so I saw celebration and everyday living. And I learned about biscuits.

In my south, biscuits need to be right. They need to be able to be opened without a knife, just by pulling apart while still warm. They need to be pillowy on the inside and a little crispy on the outside. They often call for lard in the recipe, though I use butter today. My mom made a sign she hung in her kitchen in the early 80s that read: “Everything cooked in real Butter unless Lard is more appropriate.” I must note that my mom has also had long stretches of eating vegan in her life, so this sign is not truly representative of her today. But you get the picture.

Like Edna Lewis, food ties my family together. My brother shares my tastes and food memories, and our favorite dishes come from our mom’s handwritten notebook. This morning as she ate these biscuits, my daughter sighed and said, “I have eaten some good food in my life.” For her, biscuits will have to be right too. Cornbread as well, which we only eat with butter and molasses. It’s almost not worth eating them without the molasses in our household. Biscuits should be served with butter and local honey or homemade jam. Today’s jam came from our neighbor, who made it with the figs from the tree of our neighbor on the other side.

Fig Preserves, with oranges
With honey, my favorite

I should note that the biscuit recipe that I love, that ties me to my mom, differs from the one that appears in Edna Lewis’s book. Perhaps I have a different version than my mom had. You’ll also see that my mom has many versions of it based on the size of your crowd. I’ll write the instructions for the one scaled for a family of four. Of course, mine is a family of three, so I cut them to come out with nine biscuits, for fairness. You’ll do what is best for you.

The last one is always odd

The way I make the biscuits has changed over time. My mom used to make them without any kneading, just dropping them into a pie dish, where they rose in the oven to touch their sides together. Now we both knead them three times and cut them. I use a drinking glass, though I own biscuit cutters, because I like them a certain size. Flour that glass, people! No matter how many times I’ve made these, I always think of my mom as I do it. Same with pie crusts. I learned how to make food right from her. I got my tongue from her – my tastes are her tastes. My sense of scale with cooking belongs to her – too much is always better than not enough. People at your table should feel like they can eat as much as they want. And my style of appreciation of food came from her too. One should exclaim – often – about the food we eat. If people aren’t raving, it’s probably not good. (This one is not especially a good lesson, I admit. Don’t follow this one! But I can’t be truly friends with someone who hasn’t been ecstatic about my cooking at some point. It’s a character flaw on my part, I know, but you can blame my mom.)

As I pass this recipe along to you, I’m passing along my love of my mom. Biscuits are love transformed into nourishment. They are particular, they are personal, they are place that can be carried with you when you move. Don’t thank me for this recipe, thank my mom and Edna Lewis.

Buttermilk Biscuits

2 cups all-purpose flour

3/4 teaspoon salt

1 teaspoon baking soda

2 teaspoons cream of tartar (find this with the spices in your grocery store)

1/2 cup unsalted butter or lard

3/4 cup buttermilk

Preheat the oven to 450 degrees. Mix the dry ingredients; then cut in the lard or butter until well combined and the flour looks a bit like cornmeal. I use a food processor these days. Add the buttermilk until just mixed (I do 11-13 pulses with the food processor). Turn out onto a floured surface and knead about three times. Flatten the dough gently with your hand until it is about ¾ inch thick. Cut out with a floured biscuit or a drinking glass. You should have about 8-9 biscuits. Place on an ungreased pan and bake for about 13 minutes until golden brown. Serve hot with butter, honey, and jam.

A Recipe, with Love

If I’ve made this dish for you, I loved you.

Today I am going to give you a recipe that is filled up with love. I’ve been on the internet too much today and there has been a whole lot of not-love out there. I mean, just way too much of things that are anti-love. And this dish is going to help. It’s going to fill your belly and your heart. It’s the recipe I have been asked for more than any other dish I make, hands down.

I got this recipe from Deborah Madison, my favorite cookbook author, from her book, The Savory Way. My very favorite cookbook is another one of hers, but this was my first and the spine is broken right on the recipe.

img_7139
Evidence of love

This was the first dish I made for my now-husband and it may still be his favorite thing I make, which is saying something. I’ve made it for dozens of students over the years at our annual party. If I’ve made it for you, I loved you. I hate to tell you, but if you’ve eaten this served from my kitchen, you might already love me back and have not fully realized that yet. It’s okay to admit it now.

I made this recently because at this time of year my garden and yard are overtaken by cilantro. I have so much I’ve been giving it away to friends. I have even bartered with it!

img_7142
That is free-range cilantro among my rose bushes.

I know some of you don’t care for cilantro because of your genetics. I still love you. You might still like this dish, as some have claimed, because it is so fresh and good. But maybe they just said that because they loved me. I don’t know.

img_7141
All good things

I have had to change the recipe because my daughter is allergic to sesame. I have added things, like cherry tomatoes and sugar snap peas. I usually make it gluten free with tamari and rice noodles because I have a friend who can’t tolerate the gluten. It’s vegan, too, so all your friends can enjoy this in some form. I’m going to give you my simplified version below, because I love you.

img_7148
The Sauce of Love

Peanut Sauce (from Deborah Madison’s Savory Way)

6 large cloves of garlic
1.5 ounces of fresh ginger, peeled and chopped (about 2 Tbs)
1 large bunch cilantro, large stems removed

1/2 c natural peanut butter
1/3 c soy sauce (or tamari)
1 Tbs peanut oil
1 Tbs dark sesame oil
1 Tbs hot chile oil (I just use olive oil and mix in a little cayenne)
3 Tbs rice wine vinegar
3 Tbs sugar

Blend all but the last two ingredients in food processor or blender. Add the last two, adjusting to taste. And if you don’t have the fancy oils, just use olive oil. No one complains.

I serve this over cold noodles (even ramen work great) with chopped tomatoes, sliced green onion, ½ c cilantro, and tofu. Toss 1 lb of noodles with 2 tablespoons of peanut or sesame oil.

img_7151
Before sauce

img_7152
Properly dressed

I know I usually give you a little anthropology in these posts. But today, I feel kind of spent. I also am just motivated to put something good out in the world. That’s all I’ve got.

Grateful Cake

The combined loveliness of two acts of friendship seemed to cry out for a celebration.

In May and June of 2014, I took a group of college students on a study trip along the U.S.-Mexico border. They had all taken a course with me about cultures of the borderlands, and they were an amazing group of young women. Today, they are scattered around the country, but they keep in touch with me and with each other. As we read about the border in the news over the years, we all recall what we learned together.

This week, I got a present from one of them. She lives in Tucson now, working with refugees. She sent me a bag of mesquite flour made from beans she collected by the Santa Cruz river, and a jar of olives, also collected around town and cured herself. In this time of relative deprivation due to COVID-19 – deprived of friendship and of easy access to food – her gift felt like a little miracle. Both products took effort and planning, making wild plants into precious food. In both, the gratification from collection to consumption is quite delayed, but is all the more delightful because of the wait.

FullSizeRender.jpg
Mesquite pods ripening.  Photo Credit: Elissa McDavid

On our trip in 2014, the students tasted and ground the flour themselves for the first time. We sought the shade of a mesquite to do the work, and touched the flour to our lips cautiously. I recall what a pleasure it was to see their astonishment at how very sweet the beans are.

IMG_2089
Anna grinds beans while we hide in the shade

We looked for mesquite trees for their shade often on that trip, relishing the cool they bring to the desert.

IMG_2080
A lovely old one

Almost on the same day, a friend bought me wheat flour and yeast at the grocery store because she knew I had been unable to find either for weeks. I brought her a bouquet of flowers from my yard and a bunch of cilantro that I could easily spare. We made the trade in her driveway, keeping our distance. First, she put her goods on her car and retreated; then I approached and took hers and left mine. We sat about 15 feet apart and talked for a few minutes in the sun. Seeing each other’s living face, unmediated by a machine. I’m so grateful for that moment and for my former student, now friend, who thought of me in this dark time.

The combined loveliness of these two acts of friendship seemed to cry out for a celebration. I turned, of course, to From I’itoi’s Garden, a cookbook I have written about before. I knew the Tohono O’odham would have some good ideas about how to use mesquite flour. The Tohono O’odham people ate mesquite beans as a snack off the tree, or ground them into flour. The flour could be made into a porridge or into balls by mixing with water and drying in the sun to save for later. Today, the flour is used for all kinds of goodies with recipes in this great cookbook. I’m sharing their unaltered recipe here for the cake, though I modified it by making a layer cake and using an orange buttercream frosting. That was all me.

2310b67d-04bf-4498-a975-928eba7817ae
The decoration was also me

Almond Mesquite Cake

2 1/4 cups flour
3/4 cup mesquite flour
2 ½ teaspoons baking powder
1/2 teaspoon salt
3/4 cup softened unsalted butter
1 1/3 cups sugar
2 eggs
2 teaspoons almond extract
1 1/3 cups milk

Preheat oven to 350°F. Mix dry ingredients together in a small bowl. Cream sugar, butter and eggs, and almond extract in a mixer.  Alternate adding dry mixture with milk  to the butter mixture in three additions each. Pour batter into two buttered and floured (and I used parchment paper) 9″ cake pans. Bake for 30-35 minutes.

Orange Buttercream Frosting

1/2 cup softened unsalted butter
3 cups confectioners’ sugar
Zest of one orange
1/2 teaspoon vanilla extract
1 1/2 teaspoons orange extract
3-4 tablespoons fresh orange juice

Slivered almonds, toasted

Beat together butter and  orange zest. Gradually beat in sugar until blended. Add liquids and beat. Taste for orange. I like it tangy.

Frost the cake and decorate with toasted slivered almonds. I put on a lemon blossom for prettiness.

e3aac726-a4bb-416b-ba07-4ceeccb412a0
We ate this sucker up.

Enjoy while thinking of your generous and glorious friends.


Dutch Babies and Other Delights

If your guests are not crowing about it’s loveliness, then you need new friends or to coach them in better manners.

Today is my daughter’s birthday, so she planned the menu. I’m surprised that each year she has a new request for her birthday dessert, and a different dinner meal as well. Last year was chicken enchiladas with a chocolate cake that had a thick layer of mint frosting in the center and chocolate ganache on top.

IMG_3265
I invented this one!

Other years it is spaghetti with key lime pie. I’ve had to invent a fair number of the desserts, including the cake just mentioned and a s’mores cake. This year her dessert and dinner are easy: snacky dinner (basically a French themed antipasto) and sopapilla cheesecake.

Her requested breakfast, though, has been pretty consistent. First of all, there has to be sausage. My girl loves her some breakfast meat, and link sausages are at the top of the list. And I think I’m not bad at delicious breakfasts, so she really has a list to choose from. My husband, for example, always goes for sourdough pancakes with our fresh blueberries.  My kid, though, always picks a Dutch baby.

Dutch babies are kind of a hit with guests, too. They look very impressive, I think, and they are incredibly simple to make. I use a recipe from James McNair’s book, Breakfast, which I highly recommend.

img_4486
Smell the butter . . .

I don’t think they are terrible for you, until you put some goodies on top. Which we like to do. The traditional topping for a Dutch baby is lemon juice and powdered sugar. That’s nice, but that is not what we do. We like to have another family favorite with the Dutch baby: stewed blackberries.

img_4483
Stewing in their own juices

These are so good. If you can convince yourself to freeze some of those berries you picked in the summer, this dish is a wonderful use for them. Of course, you can buy frozen berries at the grocery store too. These also are not so bad for you, so we feel the need to add cream and put lemon curd on the Dutch baby. I mean, that’s a little over the top, I know, but it’s just who I am.

img_4488
Cream is almost always the right choice.

This trait is probably why you like me, if we are both honest.

Dutch Baby

4 large eggs

1 cup milk

1 cup flour

1 teaspoon vanilla extract

lemon zest

8 ounces unsalted butter

Preheat the oven to 475ºF. That’s going to be a while, so get to mixing! Beat the eggs until they are frothy and then gradually add the milk while beating. Gradually add the flour while beating as well. Mix in the vanilla. Zest your lemon into the batter.

img_4484
Zesty!

By now the oven should be close. Using a cast iron skillet (mine is 11 inches) or other oven safe skillet, put your stick of butter in the pan. Add the pan with the butter to the oven to melt the butter. Watch it closely, because it will go fast! Remove when just melted and pour in the batter. Don’t freak out about the butter. You won’t eat it all. It just keeps things from sticking and it seasons your pan beautifully. Cook for 10-12 minutes, keeping an eye on the baby. It’s going to puff up a lot!

img_4487
So beautiful!

Take it out to the admiration of friends and family. If they are not crowing about it’s loveliness, then you need new friends or to coach them in better manners. Serve immediately.

img_4489

Stewed Blackberries

Boil 1/2 cup water with 1/4 cup sugar and a cinnamon stick for about 5 minutes. Add 4 cups of frozen blackberries (or a 16 oz. bag) and cover. After it simmers, reduce the heat to low and stir occasionally. You want the boil to be gentle.

Serve with the Dutch baby. My husband likes to coat the Dutch baby with lemon curd and then add a little blackberry juice on there for good measure. Others just keep it separate. Both ways are correct.

img_4490

It looks fancy, but it is truly a breeze to make both of these. You should try it!

Summer. Isn’t. Over.

My garden wants to remind you that we are more than two weeks away from the autumnal equinox, thank you very much.

I’ve heard you all talking. I’ve heard the comments about getting back to school, about Labor Day, about not wearing white. I’ve seen you looking longingly at your sweaters. You’ve been thinking about making a casserole or baking some muffins, admit it. Just give you one cool morning and this is where we wind up.

My garden heard you too, and she is having none of it. She sent me here to correct these false rumors. First, she wants to remind you that we are more than two weeks away from the autumnal equinox, thank you very much. Second, she wants to emphasize that the equinox is just a formality anyway. Haven’t you noticed these nice warm days persist into October? Like, most years? She is going to make the most of it, and she suggests you do it too.

img_43311

I made a sauce with these to go with grilled salmon tonight.

Actually, she’s been getting a little forceful about this point. Every time I go inside, I feel her saying, “Don’t you turn your back on me! Do you see these okra? When you get back they are going to be enormous and too tough to eat! I had better see you out here EVERY DAY until I say so!”

Those okra. I’ve had actual dreams of going to the garden and the okra had grown into small trees, taller than my head. You have got to watch those suckers every minute.

My tomatoes are a bit more gentle about it. They stop setting fruit when it gets too hot, but they are only too happy to start up again once things get reasonable again. My cherry tomatoes are ripe again and my slicing tomatoes are setting. That means we’ll have fresh tomatoes until the frost comes, which in Arkansas can be into November. And even then you can harvest and fry up the green ones. Such a good idea!

And this is the time when my basil just gets out of control. I have to harvest so much. So much. Basil goes in everything this time of year. The fact that you can eat basil every day is just proof that it is summer.

Summer eating is simple eating, in my opinion. The flavors of ripe veggies and herbs just want to be appreciated. You don’t really want complex sauces this time of year. You want corn that is barely cooked, with salt and butter. You want a caprese salad. You want green beans cooked just so. Summer cooking doesn’t really need a recipe, does it?

img_3993
Keeping It Simple

But perhaps you aren’t sure about the green beans. Or how long to cook the corn. For you, I will write some not-recipes. Just in case you wanted them because you did not grow up with someone who made them. These are for you.

Green Beans, Just So

img_3992
It is all so perfect.

First, snap the beans. That means you just snap off both ends of the green bean. Don’t worry about where and don’t cut them. Snapping, by bending until it breaks, helps you get beans that are fresh. Ideally, you can snap right to the edge. But if they don’t snap until you get close to the middle, you are better off with less of that bean. Flexible, bendy beans are not fresh. You want ’em snappy!

Bring some salted water to boil. Add the beans and boil only until they turn bright green, about 4-5 minutes. Meanwhile, get out a bowl to put those beans in. Crush a clove of fresh garlic and add a dollop of mayo to the bowl. When the beans are bright green, drain them and put them immediately, steaming hot, into the bowl. The heat of the beans will release the scent and flavor of the garlic and make a sauce of the mayo. Add fresh ground pepper and salt to taste.

Now, don’t freak out about the mayo. (I use Duke’s, by the way.) Mayo is oil and eggs. It’s not weird or some kind of chemical. The French make it. Just call it aioli. And if you just can’t abide it, toss with olive oil and a squeeze of lemon. You might want the lemon even if you use the mayo.

img_3994
So tasty with mayo

Corn on the Cob (Not a Real Recipe)

Seriously, I know you can’t believe you are reading this, but you might want it. First of all, get the corn in the husk and don’t put it in the fridge. I try to use corn the same day I get it. I think that’s the key to having really sweet corn because the cold starts working on the sugars. Husk that corn when you are ready to cook it. Boil enough water that the corn could submerge. Bring to a boil and add the corn. Return to a boil and let boil for one minute. You heard me. Turn the heat off and cover the pot for five minutes. Now it is done. Take it out of the pot and slather with butter and salt. The end.

And for dessert? Maybe you would like a fig.

img_4177
You probably would like a fig.

So don’t rush into fall! It will get here soon enough and we will revel in winter squashes and persimmons. Just enjoy the now. If you don’t, I’m gonna hear about it from my garden.

Let’s Get Regional

Authentic is the bane of an anthropologist’s existence. Authentic implies one way; it implies the truth and the past. It ignores change and innovation, which all people are allowed.

I do love traveling, don’t you? I’ve been going back to some home places this last month, revisiting favorite parts of the country and, of course, favorite dishes. My journey began with a stop in New Mexico, a state I lived and worked in for a few years. I have to tell you, I love the food in New Mexico. When I was pregnant in Arkansas, all I wanted was ground lamb-stuffed sopapillas with red sauce from Angelina’s in Española, New Mexico. I actually shed tears about this craving. Bitter, bitter tears.

Honestly, Angelina’s is home to a few fabulous dishes, including their chile rellenos.

img_4021
I am drooling right now.

Some people think that New Mexican food is not “real” Mexican food. Here is a thing I want to tell you about “Mexican food”: It’s not one way. There is not a right way. There can be a way you like, for sure, but do not come at me with “authentic.”

Authentic is the bane of an anthropologist’s existence. Authentic implies one way; it implies the truth and the past. It ignores change and innovation, which all people are allowed. Now, anthropologists would like for people to be allowed change on their own terms and at their own pace, but cultural mixing and trying new things are truly features of being human.

Let’s take tortillas, shall we? I can’t tell you how many times that people in the U.S. have told me that corn tortillas are “authentic” and that flour tortillas are for gringos. In many parts of Mexico, people mostly make corn tortillas for themselves and they grow lots of corn. Lots of it, every spare place, like by the mailbox and in the backyard. Corn really is the thing. “Sin maíz, no hay país,” (without corn, there is no nation) as Francisco Toledo likes to say in his campaign against genetically modified corn in Oaxaca.

Yet in Sonora, a northern state in Mexico bordering Arizona, wheat has been cultivated from early Spanish colonial times. Wheat can be grown in winter and spring, times when corn cannot be grown there, allowing for two productive crops in a year. Indigenous farmers welcomed the introduction of this crop in the 16th century. Today, a specialty of Sonora, and also of the O’odham people, are tortillas sobaqueras. These flour tortillas are huge, stretching nearly from the hand to the armpit (or sobaco). I had these for the first time in Agua Prieta, Sonora, where they were served with local pride. And as a side note, when a Mexican friend ordered a chimichanga in front of me long ago in Nogales, Sonora, I asked naively, “But, are those really Mexican?” She said, “Well, people argue over whether they were invented in Sonora or Tucson, so I don’t know, but I love them.”

When someone at a restaurant asks me what kind of tortillas I want, I always ask, “Do you make either of them here?” And if they do, that’s the one I get. Homemade is always better. When I was working in Douglas, Arizona, right on the border, I interviewed a Mexican-American woman in her 80s. When I left her house, she sent me home with a dozen of her freshly-made flour tortillas. When her daughter heard, she was jealous almost to the point of anger. “Those are gold,” she told me fiercely, “They are like gold.”

My point here is not that flour tortillas are the best. I just want people to be open to difference, and to realize that difference may have it’s own “authentic” history. We had a favorite Mexican place in Little Rock that has closed. The Yelp reviews were full of complaints about how it wasn’t like what the reviewers had in San Diego or Dallas. If you asked the owners, they would proudly tell you what state in Mexico they were from and how their dishes were from that region. Many people claim that they know “authentic” Mexican, and dismiss what is in front of them, without realizing that Mexican cuisine is hugely regional.  Embrace the local versions! Sure, some restaurants cater to Anglo tastes. I always ask what the waiter likes the best, though, and try that. Figure out what they do well and stop pretending that a chile relleno will be, or should be, the same everywhere you go.

In New Mexico, the green chile is king. Okay, someone is going to be mad that I wrote that because red chile sauce is also king. All you have to do is look at the ristras strung up on peoples’ porches and doors to know that. But, the smell of roasting green chile all over the state beginning in August is quite something. Grocery stores have giant drums set up for roasting, so you can get yours fresh. And you should definitely do that.

I’m just going to admit that the way I like chile rellenos best is the way they do it in New Mexico. I don’t even order them in other states anymore and I don’t make them myself. I know what I want when I ask for a chile relleno. I want them a little crispy. I want them with green chile on top. I want the chile itself a little al dente, with some chew to it.

img_4022
Sopapillas, and some good tamales

And I want sopapillas to come with them. Big ones, with honey. Hot.

Do you know how this is? I don’t order certain things in restaurants. I am always disappointed with gazpacho because it is not MY gazpacho. I like it the way I make it. I would never order chicken piccata in a restaurant. Mine is better, and also, chicken? Why would I get chicken if I could have something else? That better be some special chicken. Life is short, friends.

My strategy, again, is to get regional. Order what they are good at where you are. Get the huevos with the plantains and posole on the side and piñon-atole pancakes.

IMG_1751
I mean, hypothetically, because that would be a lot of food.

My father-in-law was born and raised in New Mexico, though he has lived in Colorado for many years now. He is completely particular about his Mexican food. For him, real Mexican food comes from New Mexico. He drives to a certain farm stand in northern New Mexico to buy his fresh and dried chiles. He is not compromising on this issue.

He makes a chile verde, which I will share with you, that is sometimes insanely hot and other times not so insanely hot, depending on the chile. It is what it is. He will serve it to you with corn or flour tortillas, rolled or flat. It’s not the presentation, it is the chile verde that matters.

img_4034
Rolled with a flour tortilla

He got this recipe from a guy he knew, now passed away, named Jesus. It was a family recipe and he was given it on the condition that he never change it. So don’t mess with it, or Jesus in Heaven will be mad. (You can blame my father-in-law for that one!) He says that, but my husband has an ancient hand-written recipe for chile verde from his dad that is substantially different from the version that his dad put in the fundraiser cookbook for the local ski club. What stays the same are the ingredients – the ratios vary with your taste and the heat of the chiles. So, for god’s sake do not put onions in while you cook the sauce, but you can sprinkle on raw onions when you serve and if you don’t (I don’t) people think there might be something wrong with you. I’m going to share the fancy typed version of the recipe with notes, because I think he has refined his technique over the years. He has also become more fond of a very hot version, and that’s just fine. Pretty much everyone who has this dish wants it again, so I think you’ll like it.

Jim’s New Mexico-Style Chile Verde

4-5 lb pork butt (old recipe says 3-4 lb)

20-25 whole roasted green chiles, a mix of medium and hot (old recipe says “green chiles”)

5-6 cloves of garlic, minced (old recipe says 3)

1 16-oz can of stewed diced tomatoes (old recipe says 28-oz can diced)

Roast the pork butt at 300 degrees for about 3 hours until done (old recipe says 325°). Cool enough that you can remove the hard fat and cut into 1-inch chunks, but reserve the juices. While the pork is roasting, remove the skin and seeds from the chiles and dice them (old recipe says put them in a blender). Don’t wash them too much with water or you will remove some of the heat and flavor. Combine all ingredients, along with salt and pepper to taste, in a large pot on the stove. Add enough water to get things boiling, but you will want to end with a fairly thick consistency. Bring to a boil and then reduce to a simmer for 6 hours, adding more water as necessary.

You cannot eat these without beans. Jim makes them from dried pinto beans and he adds bacon or salt pork to them while they cook.

To serve, you can make stacked enchiladas with corn tortillas. Put down a heated tortilla, add beans and chile verde and cheese, and diced, raw onions, add another tortilla and repeat with chile verde and cheese. You could fix this up in a casserole to serve the family. You can also roll up the beans, chile verde, cheese, and onions in a heated flour tortilla and make burritos. Or you can put the beans in a bowl, add chile verde, and top with cheese and onions, and eat with a tortilla on the side. It’s how you like it!

As you can see, the ratios adjust the heat of the chiles. Cooking this will require tasting. If it’s too hot, you can add more tomatoes. Too mild, add some more roasted chiles. And remember, this recipe won’t be like the other chile verde you have had. It’s a regional dish. Enjoy!

Fourth of July Mezze

Toward the end of night, about twenty small plates in, our waiter set a dish down and looked at me knowingly. “This one is really special, ” he said. “You are going to love it.” It was liver.

My family makes a meal plan each week. We sit down and talk about who has meetings or practices in the evenings and then we decide what we will make for each night. We get a list together and go shopping. That seems so organized, doesn’t it? It took me until my first sabbatical to figure out that this would be a good idea. I was 42 – and I had time off from work – before I could come to this conclusion. Before then, we’d just start gnashing our teeth and pulling our hair around midweek and decide we needed to go out to dinner, and then feel dissatisfied with our options and grump around for a while. Meal planning is better.

So this week during meal planning, I told my husband that I would make a mezze for the Fourth of July. He said, “You sure have a funny idea about the Fourth.”

img_3826
Typical mezze at my  house: spicy chickpea dip, tabbouli, babaganoush, dolmades, olives

Okay. That may be true. But maybe I want to be independent today! Also, maybe I like the peoples of the Middle East and feel they should be celebrated instead of foolishly banned from entry into the U.S. because of Islamophobia. There’s that. Also, it is very hot and this is the kind of food I want to eat when I’m hot.

And the food of the Middle East is so easy to love and yet so undervalued. My experience of food in the Middle East and Mediterranean has been transcendent at times. I also love the way people in the region cherish their food.

I grew up in a household where it was expected that you rave about your meals. You roll your eyes back and moan. You ask about spices and ingredients. You fight to scrape the dish it was cooked in. If you said, “That’s really good,” everyone knew that dish was a failure. Ecstasy, and nothing less, marked a meal as a success. My husband has had to adjust to these expectations. My closest friends generally meet these guidelines.

For example, once I gave my friend Jenn a Luxardo cherry in a cocktail I made her (Mr. Fancy – you  will meet him in another post). Jenn said, “Oh my god! These taste like what cherries hope they will be when they grow up!” See, that’s my kind of girl. Enthusiasm.

Most of the people I met in the Middle East have been like this. My husband worked for several years on and off in Jordan. I was visiting him and he wanted to take me for a really good shawarma. We got a taxi and Brett directed the driver to take us to Third Circle (Amman is organized around large traffic circles). We drove around and Brett looked for the place but didn’t see it. The driver looked at us questioningly. Where should he stop? He then overheard Brett say the word “shawarma” to me and all was clear. He turned around in his seat and said, emphatically, “Shawarma! Second Circle!” He drove straight to the spot without discussion and dropped us right in front. I recall him being pretty confident he was getting a good tip.

A favorite restaurant in Amman served only two dishes: ful medames (made with fava beans) and hummus bi tahini. That’s it. It was packed, always. That spot was very humble and we loved it, but Brett took me and a friend one night to a very fancy restaurant. We ordered a mezze for three people, and we let the chefs pick the dishes.

img_38291
Hummus in the style of The Diplomat in Amman, with sauteed pine nuts on top

Now, a mezze is usually understood as a starter, not the main course. You can have hot and cold dishes, generally small tastes, with meat and without. A good mezze will provide a mix of tastes. Claudia Roden, whose cookbooks I enjoy, tells me that the word derives from t’mazza, meaning “to savor in little bites” in Arabic. Think about tapas or antipasto platters. A mezze is the Middle Eastern or Mediterranean version of that. There are pickled things, and little pastries, and dips. Bright, fresh flavors and colors.

This restaurant we went to was really fancy. It had white tablecloths and about five people assigned to our table, including one who refilled my water glass after every sip. They brought the dishes a few at a time. Remember who I am now. I started exclaiming. I rolled my eyes. I insisted my dining companions try each dish and marvel at it with me. The waiter liked this display. He began to bring each dish with a bit more flourish. Toward the end of night, about twenty small plates in, he set one down and looked at me knowingly. “This one is really special, ” he said. “You are going to love it.”

It was liver. Fortunately, I DO really like liver, so we were in the clear. But my god, we rolled out of that place. It was one of the best meals of my life.

That meal was prepared in a Lebanese style, with a Lebanese chef. All throughout the Middle East, Lebanese cooking is highly praised. But, sadly, if you look up information on Lebanon – let’s say on Wikipedia – it will say nothing about the cuisine. This omission is a crime. I mean, the entry will mention cinema, for goodness sake, but nowhere does it note the intense admiration for the food throughout the region.

And that brings me to another point. I’ve been talking about “Middle Eastern food” as if it is one thing. It certainly is not. There is wonderful variation, to the degree that you can’t really find some common dishes across international boundaries. Koshari is all over Egypt, but I never saw it in Jordan. Mansaf of Jordan is pretty much only found there. Eating in Turkey is not the same as in Greece, and neither are just like Cyprus. I’m not even touching Iranian food! But all share the mezze concept, and all have inspired me at home.

img_3828

When we lived in Tempe, I never made Middle Eastern food. I didn’t need to. We had Lebanese and Israeli and Palestinian all within walking distance of our apartment. Since moving to Conway, I’ve had to learn. I love that a Jewish girl from Virginia can’t live without her mezze.

img_3986
Fried haloumi, as I ate every day for six weeks in Cyprus

Typically, I make a few types of hummus, babaganoush, and tabbouli. I buy dolmades and olives, usually some feta cheese too. Tonight, I mixed it up by frying some haloumi cheese, using some basil in one hummus, and baking my own pita. There was quite a bit of exclamation at our table. My family knows how to do it.

img_39871
Homemade pita is better

Anne’s Babaganoush

Take a large eggplant and stab it a few times with a knife. Place it on a pretty hot grill and rotate it about every 10 minutes. After about 30-40 minutes, it should be collapsing and blackened on the outside. Bring it inside and let cool slightly in a colander. Cut off the top and discard. Peel off the blackened skin and discard, leaving the flesh in the colander to drain. Peeling should be pretty easy with just your fingers. After the bitter juices have drained out of the flesh, transfer to a food processor. Add 1-2 cloves of garlic smashed in a press, 1/2 teaspoon of kosher salt, the juice of half a large lemon, 2 tablespoons of tahini, and 2 tablespoons of olive oil. Process until smooth and taste for salt, lemon, and tahini. This recipe must adjust for the size of your ingredients, so tasting is crucial. Serve with warm pita bread.

Spicy Herbed Chickpea Dip

(based on a recipe by Deborah Madison)

Drain and rinse one can of garbanzo beans. Place in a food processor with 1/4 cup warm water. Add 1-2 cloves of garlic put through a press. Blend briefly. Then add 1/2 cup fresh cilantro (or I used basil tonight), juice of one lemon, 1/2 teaspoon kosher salt, 1 teaspoon cumin, 1/2 teaspoon coriander, 1/4 teaspoon crushed fennel (I use a mortar and pestle), and a dash of cayenne. Process until smooth. Serve with more  warm pita bread.

Making Tepache: How Did They Figure that Out?

At the end of the trip, I asked a friend about whether I could buy some. He pointed to a table by the side of the road with filled plastic bottles, recycled for this purpose. “There’s some. Want me to stop?,” he asked. Uh, no.

I often ask myself how humans ever came up with some of the food we eat. Like bread. What happened there, with the yeast and the grinding up a grain that didn’t really seem like food for people? Who thought, I’m gonna mash this stuff up and let it sit around and then put it over the fire? Or noodles. Who thought boiling up a paste pulled into thin strips might be a good idea? We are inventive, we humans!

img_3884
I made pasta recently. Isn’t that dough lovely?

And then there’s alcohol. Did people just let things hang around long enough and then think, I’m gonna drink this anyway, even though it smells a bit off? I am fascinated by the human propensity to try out.

One of the great things about traveling is that you are going to try out quite a bit. The willingness to try really enhances one’s experience of a place. When I take students with me, they are often a bit reluctant to try the more unfamiliar tastes. In Oaxaca, one is truly compelled to eat insects, for example. Eating chapulines, a little grasshopper commonly cooked and seasoned, guarantees your return to the state, and once there, you will want to return.

chapulines
Ready to sprinkle on a taco.     Photo: Lora Adams

Most people at least try it. I heartily encouraged my students to do so. My husband, though, embraced this culinary pleasure with vigor and we bought several varieties.

chapulines market
We got the garlic and the chile flavors. So many to try!

One of my unexpected pleasures while in Oaxaca was tepache. I was served a glass at a lunch on one trip. They told us that it was mildly alcoholic and made on the premises of the restaurant. Well, I admit that this statement struck a little fear into my heart. Like, what does “mildly” mean? And I’ve got a full day ahead of me and it’s a bit hot. And homemade alcohol is kind of a thing I’ve been warned about, and I’m avoiding raw vegetables and ice in Mexico, so this drink does not fall into my cautious eating plan.

But this is how it looked.

tepache
Chile on the rim. So pretty.     Photo: Lora Adams

So you know I had to drink it. Oh, so refreshing. A bit sweet. Where had this drink been all my life?

Over the course of that trip, I was served a glass occasionally, but I never saw it on a menu. At the end of the trip, I asked a friend about whether I could buy some. He pointed to a table by the side of the road with filled plastic bottles, recycled for this purpose. “There’s some. Want me to stop?,” he asked. Uh, no.

After I returned home, I researched it a bit and found that it really is something that people brew for themselves. And it turns out that tepache also makes me wonder how anyone figured this out. It is made from the rinds of pineapple. The rinds. Of pineapple. Which have naturally occurring yeast on them. What?! People talk about tepache a bit like they do about kombucha. You ferment it on the counter. I am not 100% certain that it actually is alcoholic. More about this later.

I gathered up my courage and attempted it myself. It came out delicious, and about a week has passed and I have suffered no ill consequences. I feel safe passing it along to you.

My Recipe for Tepache

Start by getting a pineapple, a nice ripe one. Rinse it well. Cut off the leaves and discard. Cut off the rind and put in a large bowl. Cut out the tough core and throw that in the bowl too. Now cut up that tasty pineapple to eat later and put it in the fridge.

Now, most recipes have you just cover the rinds with water and stir in some sugar, but I didn’t do that. I don’t know what got sprayed on that pineapple coming to my store. And a lot of fruit goes through a quick heating and cooling process when it comes into this country (like mangos and avocados). So I figured my natural yeast might have been cooked already.

I brought 8 cups of water to a boil with 1 cup of turbinado sugar and one cup of brown sugar. It’s what I had on hand, but most recipes call for piloncillo, a hard, dark sugar chunk you can buy in Mexican groceries. Add 2 sticks of cinnamon and a few whole cloves. Let boil for just one minute to dissolve the sugar. Throw in the pineapple rinds and core and turn off the heat.

img_3881
It’s not fancy at my house.

It will already smell great in your house. You can transfer to a glass pitcher, but I just left mine in the pot. Once it cools, I sprinkled a little yeast on top. Just a little. Just in case that other yeast was cooked. I covered it for 2-3 days. It gets a white foam on top. This is the yeast going to work. Do not freak out. This is what needs to happen. After about two days, strain it into a pitcher, discarding everything but the liquid. Store in the refrigerator to stop the fermentation.

A note on alcoholic content: I have no idea. I drank about an 8-ounce glass that first day after fermentation, over ice, and I loved it. I really didn’t notice any alcoholic effects. Then I made a wonderful cocktail of my own invention with it the next day, and it didn’t impact me at all. A couple days later, I made the same cocktail and I felt it. I don’t know if I was a little dehydrated or if the alcohol had gotten stronger.

Tepache Solstice (or just a Solstice at our house)

img_3923
Drink up the flavor of summer.

Fill a rocks glass with ice. Add one shot of dark rum and three drops of Angostura bitters. Top up with tepache and a slice of lemon. Finish by marveling at how some human figured all this flavor out.


Taming the Cholla: One Woman’s Battle to Confront the Cactus that Haunts Her

The Tohono O’odham people have the desert food game down.

I love the desert. I first fell in love with the Chihuahuan Desert in New Mexico, and later the Sonoran Desert worked it’s magic on me. I know that people love the cool mountains or the beach, and I do too, but sometimes a view in the desert can make my heart sing like no other landscape.


IMG_2046
View of part of the Tohono O’odham Nation     Photo: Brett Hill

I felt that way from the first time I visited. I couldn’t wait to get back to that sky, that earth, and those gorgeous rocks.

I admit, though, that the plants intimidated me. Let’s take the cholla cactus, shall we? The cholla grows throughout both the Chihuahuan and Sonoran Deserts, and has at least 30 different species. Its flowers are often a brilliant fuchsia, sometimes a yellow, and it is often a bit spindly-looking. It has been known to hide, blending in when not blooming. And that sucker is mean.

IMG_2105
Don’t let those pretty flowers fool you.

It’s mean, I tell you! One summer when I was working on an archaeological survey project, I ever so gently brushed one with my hand. I was quickly alerted to my terrible error by the pain in my knuckle. I looked down, expecting to see a spine but it was the whole segment of the cactus. A chunk of cactus leapt out at me and grabbed my hand. Heaven forbid you try to use your other hand to get it off you. No! Gravity is not enough either because the spines are barbed. They want to stay in you. I did eventually get it off, but a tiny piece stayed under the skin in my knuckle for years. Years. I learned my lesson and gave that variety of cactus a wide berth.

Living in the southwestern U.S., one quickly becomes aware that people eat some kinds of cactus. For example, prickly pear jelly is pretty widely available, and if you haven’t tried nopales on your tacos yet, you’d better get on that. Made from the pads of the prickly pear, but without the skin or spines, nopales can be pickled or just grilled. So delicious!

IMG_2043
We brought this beauty all the way from Arizona to plant in the yard.

But the Tohono O’odham people have the desert food game down. The Tohono O’odham Nation actually crosses the U.S.-Mexico border. Obviously, their ancestors were living on that land long before that border existed.

IMG_1998
I promise you a cholla is in this picture.     Photo: Brett Hill

People in this region speak English, Spanish, and O’odham proudly. And, yes, you did just hear about a Border Patrol agent hitting a member of this community with his car.

I have been delighted to get to know this tribe and their food traditions better, thanks to my husband’s collaborations there for the last several years. They make use of agave (yay!), mesquite beans, saguaro, and, yes, even cholla buds.

IMG_1992
Look at all that food!     Photo: Brett Hill

One thing that is important to know about the Tohono O’odham use of these desert plants is that they respect traditional preparations but are happy to embrace new recipes. The recipe I will share today comes from a wonderful book, From I’itoi‘s Garden. You should definitely get this book!

img_3905
Those are Tohono O’odham baskets.

You can also order the cholla buds, called ciolim in O’odham, if you don’t happen to live in Arizona. I like Native Seeds/SEARCH as a source. Many people compare the taste of the buds to asparagus, and I would add that dried ones have a lovely smoky flavor as well.

Cholla Bud Antipasto Salad

Start with one cup of dried cholla buds.

img_3906
Now they look cute.

To prepare them, cover them with twice as much water and bring to a boil. Reduce the water until the buds are poking out. Then cover the pot, reduce heat, and simmer until they are tender, maybe an hour or so.

Drain them and set aside. Saute 1/2 cup of red onion in about a tablespoon of olive oil until soft. Add the buds and 1 tsp. oregano and continue to cook about 3-5 more minutes.

img_3912
Smelling so good.

Remove from  heat and let cool slightly. Chop 1/4 cup roasted red peppers and 1/4 cup kalamata olives. Add to a serving bowl with one clove of finely chopped garlic. Add the cholla bud-onion mix to the bowl, letting the heat work on that raw garlic. Toss with 3 tablespoons olive oil and 1 tablespoon balsamic vinegar. Add freshly ground pepper to taste. You could add salt, but I didn’t.

img_3918

I let this delicious mixture marinate, covered, at room temperature.  You could refrigerate, but the buds will absorb the flavors better on the counter.

One tiny warning: you may find spines. I usually see them while sauteing. Be alert!


img_39141
Your 10-year-old will not want these.

Serve next to your favorite cactus! Actually, I serve this on toasted French bread like bruschetta, allowing the bread to soak up the marinade. We also like to spread a little goat cheese on the bread and put the salad on top sometimes. I think it could be great with a crumble of feta cheese as well. You decide!